
Just picture walking into your kitchen, greeted by the enticing aroma of garlic and melted cheese wafting through the air. That’s exactly the welcome you’ll get with my Air Fryer Cheesy Tortilla Garlic Bread. This recipe transforms simple ingredients into a gooey, crispy snack that’s perfect for any occasion. What I love most is that it can be whipped up in under 10 minutes—ideal for those days when you crave comfort food but have little time on your hands. Plus, you can customize each batch with your favorite cheeses and toppings, making this not just a snack, but a canvas for your culinary creativity. How do you plan to make it your own?
Why is Cheesy Tortilla Garlic Bread a Must-Try?
Deliciously Cheesy: The gooey mozzarella melted between crispy tortillas creates a tempting bite you’ll adore.
Quick & Easy: Ready in under 10 minutes, this recipe is perfect for quick snacks or last-minute gatherings, allowing you to serve up comfort food fast.
Customizable: Feel free to play with toppings—add jalapeños, olives, or even sautéed veggies. The flavor possibilities are endless!
Air Fryer Magic: Thanks to the air fryer, you get that sought-after golden crunch without the extra oil, making it a healthier choice.
Crowd-Pleaser: Whether it’s game day or movie night, this Cheesy Tortilla Garlic Bread will surely impress friends and family. They won’t be able to resist asking for seconds!
Cheesy Tortilla Garlic Bread Ingredients
• Get ready to whip up a flavorful treat!
For the Tortillas
- Flour Tortillas – The base for your cheesy creation; choose any size that fits your air fryer!
For the Garlic Spread
- Softened Butter – Adds richness and ensures the tortillas bake to a beautiful golden brown; both salted or unsalted work well.
- Garlic Powder – Elevates the flavor profile with aromatic garlicky goodness; adjust to your taste for that perfect punch!
For the Cheesy Filling
- Shredded Mozzarella Cheese – Provides that gooey texture and cheesy flavor; you can mix it with cheddar or Monterey Jack for variety.
- Italian Seasoning – Delivers an herby touch; consider substituting with your favorite dried herbs like oregano or basil.
Optional Add-Ons
- Jalapeños – For a zesty kick; add them before the cheese for a delightful surprise!
- Bacon Bits – Add crunchy bits for extra flavor; a perfect mix with gooey cheese.
- Sautéed Vegetables – Incorporate some greens for added nutrition and texture!
Get ready to indulge in this irresistible Cheesy Tortilla Garlic Bread, a custom-made snack you can’t resist!
Step-by-Step Instructions for Air Fryer Cheesy Tortilla Garlic Bread
Step 1: Prepare the Tortillas
Begin by spreading a generous layer of softened butter over two flour tortillas, covering all edges to ensure they brown beautifully. The butter not only adds richness but also enhances the crispy texture. Preheat your air fryer to 375°F while you prepare the other ingredients, allowing for a quick start to cooking once you stack them.
Step 2: Add the Cheese and Seasoning
Sprinkle a hearty amount of shredded mozzarella cheese evenly over the buttered tortillas. Then, dust them with garlic powder and a pinch of Italian seasoning for that herby twist. Make sure to distribute the seasonings well, as they will elevate the flavor of your Cheesy Tortilla Garlic Bread, making it irresistibly savory and aromatic.
Step 3: Stack and Cook
Carefully place one tortilla on top of the other to form a stack, aligning them for even cooking. Load this cheesy creation into your preheated air fryer and cook for about 5 minutes. Keep an eye on them as they cook, watching for the cheese to melt and the edges of the tortillas to turn a lovely golden brown, ensuring that perfect crunchy exterior.
Step 4: Slice and Serve
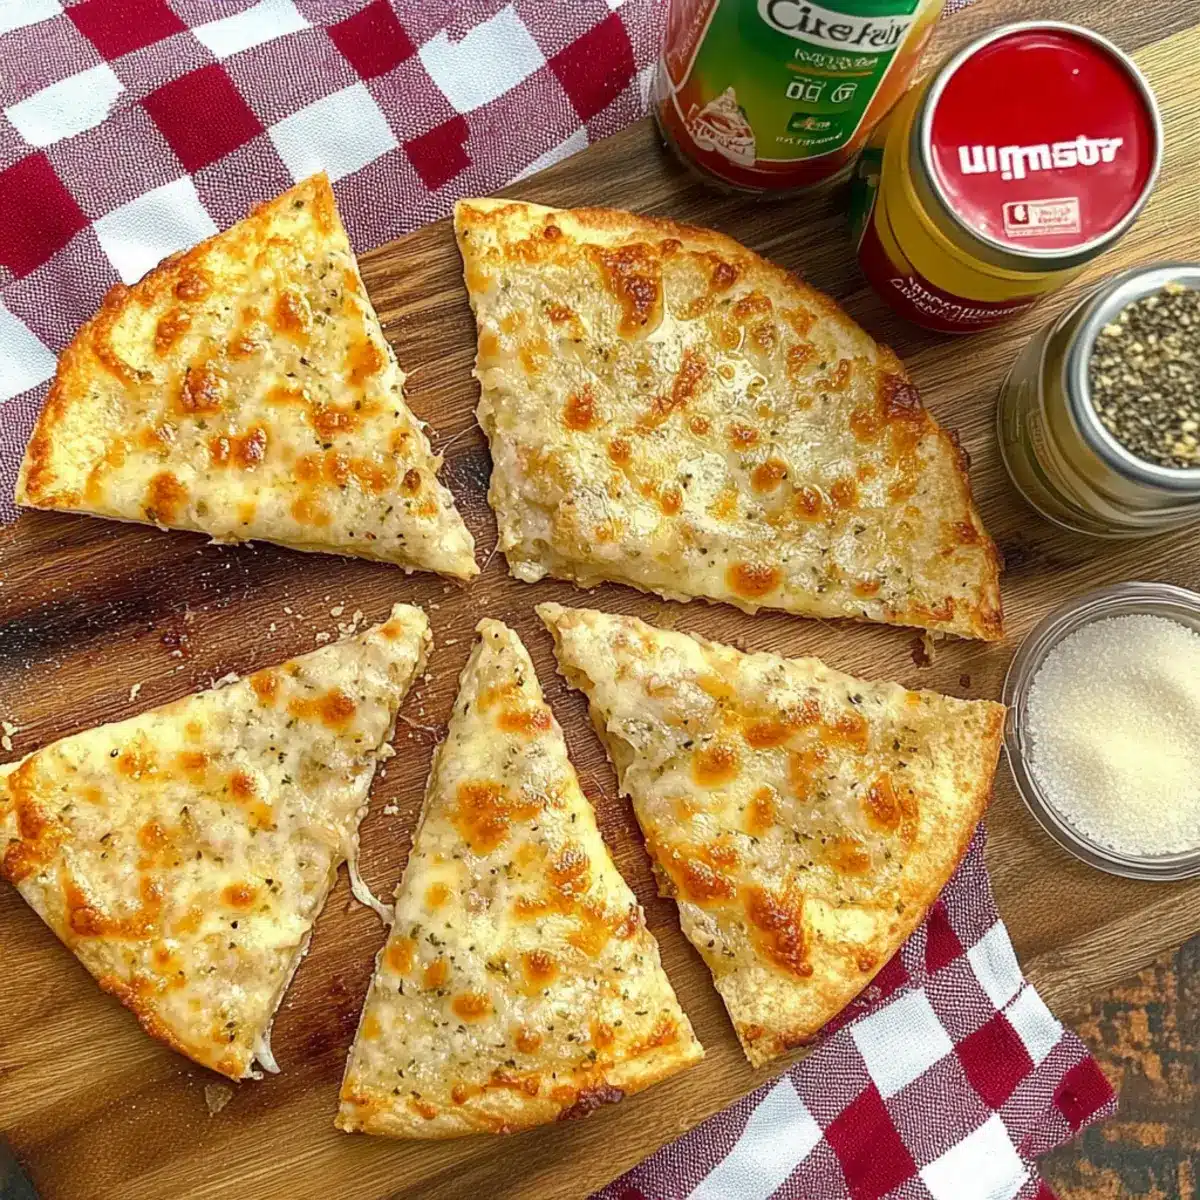
Once your Air Fryer Cheesy Tortilla Garlic Bread is golden and crispy, carefully remove it from the air fryer. Allow it to cool for 1-2 minutes before slicing with a pizza cutter into individual servings. This resting period helps set the melted cheese, making it easier to enjoy each gooey, cheesy bite without it spilling out.
Cheesy Tortilla Garlic Bread Variations
Get ready to unleash your inner chef and make this dish uniquely yours for every craving!
-
Cheese Swap: Substitute mozzarella with your favorite melty cheese like cheddar, gouda, or pepper jack for a dazzling flavor twist!
-
Flavor Boosters: Add spicy jalapeños or zesty olives on top of the cheese before air frying for a punch of flavor that excites the palate.
-
Herb Infusion: Experiment with fresh herbs! Basil or parsley layered into the cheese can elevate your garlic bread to a fragrant delight.
-
Veggie Delight: Toss in sautéed mushrooms, bell peppers, or spinach to give your cheesy creation a nutritious and colorful makeover.
-
Protein Pack: Boost your snack by adding cooked bacon bits or diced chicken to the cheesy mix, creating a heartier bite.
-
Low-Carb Option: Switch to low-carb tortillas like Carb Balance for a guilt-free indulgence while still enjoying that golden cheesy goodness.
-
Crunchy Top: Sprinkle some breadcrumbs mixed with olive oil and garlic powder on top for an extra crispy texture that adds delightful crunch.
-
Sweet Surprise: For a playful twist, drizzle with honey after it comes out of the air fryer for a sweet and savory combination that will wow your taste buds!
These variations can transform your Air Fryer Cheesy Tortilla Garlic Bread into a personalized masterpiece that speaks to your unique taste! Enjoy pairing it with a fresh salad for a delightful snack or quick meal. If you’re ever wondering how else to use your air fryer, check out these scrumptious air fryer recipes that will keep dinner exciting!
Tips for the Best Cheesy Tortilla Garlic Bread
Watch the Time: Keep an eye on the cooking time to prevent burning; air fryers can vary in heat, so checking is key.
Customize Wisely: Feel free to mix different cheeses or add toppings, but ensure the total does not overwhelm the tortillas—balance is essential for your Cheesy Tortilla Garlic Bread!
Butter Evenly: Spread softened butter all the way to the edges; this ensures a uniformly crispy and golden crust, enhancing the overall flavor experience.
Layer Smartly: If adding fresh herbs like spinach or arugula, layer them under the cheese to avoid them blowing around while cooking in the air fryer.
Cool Before Slicing: Allow the Cheesy Tortilla Garlic Bread to rest for a couple of minutes after cooking; this helps the cheese set and makes slicing easier—no messy spills!
How to Store and Freeze Cheesy Tortilla Garlic Bread
Refrigerator: Store any leftovers in an airtight container in the fridge for up to 3 days. This keeps your Cheesy Tortilla Garlic Bread fresh and ready to enjoy later.
Freezer: For longer storage, wrap the cooled garlic bread tightly in plastic wrap followed by aluminum foil and freeze for up to 2 months. This prevents freezer burn and keeps it delicious.
Reheating: For the best texture, reheat in the air fryer at 375°F for about 3-5 minutes. This will restore the crispy edges and gooey center, making it taste freshly made again.
Make Ahead Options
These Air Fryer Cheesy Tortilla Garlic Bread are perfect for busy home cooks looking to save time during the week! You can prepare the tortillas by spreading butter and topping them with cheese and seasonings up to 24 hours in advance. Simply cover them tightly with plastic wrap and refrigerate to keep them fresh. When you’re ready to enjoy, stack them in the air fryer and cook at 375°F for about 5 minutes, keeping an eye on them for that golden brown finish. This make-ahead strategy ensures your cheesy tortilla garlic bread is just as delicious with minimal effort when you’re craving a quick snack!
What to Serve with Air Fryer Cheesy Tortilla Garlic Bread
Treat your taste buds to a delightful ensemble that enhances the symphony of flavors and textures!
-
Fresh Garden Salad: A crisp salad filled with mixed greens and vibrant vegetables provides a refreshing counterbalance to the rich, cheesy bread.
-
Creamy Tomato Soup: The classic pairing of warm, velvety tomato soup complements the garlic bread’s crispiness while adding a comforting, savory touch.
-
Spicy Salsa: A zesty salsa brings a burst of freshness and heat, enhancing the flavor profile of each gooey bite, making it a fiesta on your plate.
-
Guacamole: The smooth, creamy texture of guacamole pairs perfectly with crunchy garlic bread, creating an irresistible contrast that celebrates delightful flavors.
-
Baked Pasta Dish: Serving alongside a cheesy pasta dish like baked ziti or lasagna elevates your meal with hearty, satisfying flavors, creating a true comfort feast.
-
Crispy Vegetables: Roasted or air-fried vegetables introduce a healthy crunch, balancing out the richness of the garlic bread while adding more nutrients to your meal.
-
Chilled White Wine: A glass of chilled Sauvignon Blanc or Pinot Grigio works harmoniously with the dish, enhancing its garlicky notes and creamy cheese flavors for a sophisticated touch.
-
Chocolate Mousse: For a sweet finish, a creamy chocolate mousse offers a rich dessert that contrasts wonderfully with the savory garlic bread, rounding out your dining experience beautifully.
Air Fryer Cheesy Tortilla Garlic Bread Recipe FAQs
What is the best way to choose tortillas for my Cheesy Tortilla Garlic Bread?
Absolutely! When selecting tortillas, look for flour tortillas that are fresh and flexible, without any dark spots or cracks. Any size that fits your air fryer will work, but I often prefer medium-sized ones for the perfect portion. Fresh tortillas will yield the best texture, offering a delightful combination of crispy edges and a gooey center.
How should I store leftovers of my Cheesy Tortilla Garlic Bread?
Very! To keep your Cheesy Tortilla Garlic Bread fresh, store any leftovers in an airtight container in the refrigerator. They will stay good for up to 3 days. Just make sure the container is properly sealed to prevent moisture from spoiling the texture.
Can I freeze Cheesy Tortilla Garlic Bread?
Yes, you can! To freeze, wrap the cooled Cheesy Tortilla Garlic Bread tightly in plastic wrap, followed by aluminum foil to prevent freezer burn. Pop it in the freezer where it can remain tasty for up to 2 months. When you’re ready to enjoy it again, reheat in the air fryer at 375°F for about 3-5 minutes to achieve that delightful crispy texture once more.
What if my Cheesy Tortilla Garlic Bread turns out soggy?
It’s a bummer when that happens, but no worries! If you find that your garlic bread is soggy, it may have been overstuffed with cheese or ingredients. For next time, make sure to use a balanced amount of cheese and toppings. Also, keeping an eye on the air fryer while cooking is key—if you notice sogginess, an additional minute or two can help crisp things up!
Are there any dietary considerations I should know about?
Absolutely! For those watching their carb intake, consider using low-carb or whole wheat tortillas. Additionally, be mindful of cheese allergies; you can easily substitute dairy with vegan cheese options to keep it delicious and allergen-friendly. Always check labels to ensure that any added ingredients fit your dietary needs, especially with toppings like bacon bits or certain seasonings.
Can I customize the toppings for my Cheesy Tortilla Garlic Bread?
The more the merrier! You can definitely customize the toppings to suit your personal taste. I often add sliced jalapeños for a spicy kick or layer in some sautéed vegetables to enhance nutrition. Just be mindful of the overall weight of the toppings; you want to maintain that perfect crispy texture while exploring flavor combinations.
Cheesy Tortilla Garlic Bread: Quick Air Fryer Delight
Ingredients
Equipment
Method
- Spread a generous layer of softened butter over two flour tortillas, covering all edges. Preheat your air fryer to 375°F.
- Sprinkle shredded mozzarella cheese evenly over the buttered tortillas. Dust with garlic powder and Italian seasoning.
- Stack the tortillas and place in the preheated air fryer. Cook for about 5 minutes, watching for the cheese to melt and the edges to turn golden brown.
- Remove the garlic bread from the air fryer and let cool for 1-2 minutes before slicing into servings.
Leave a Reply