
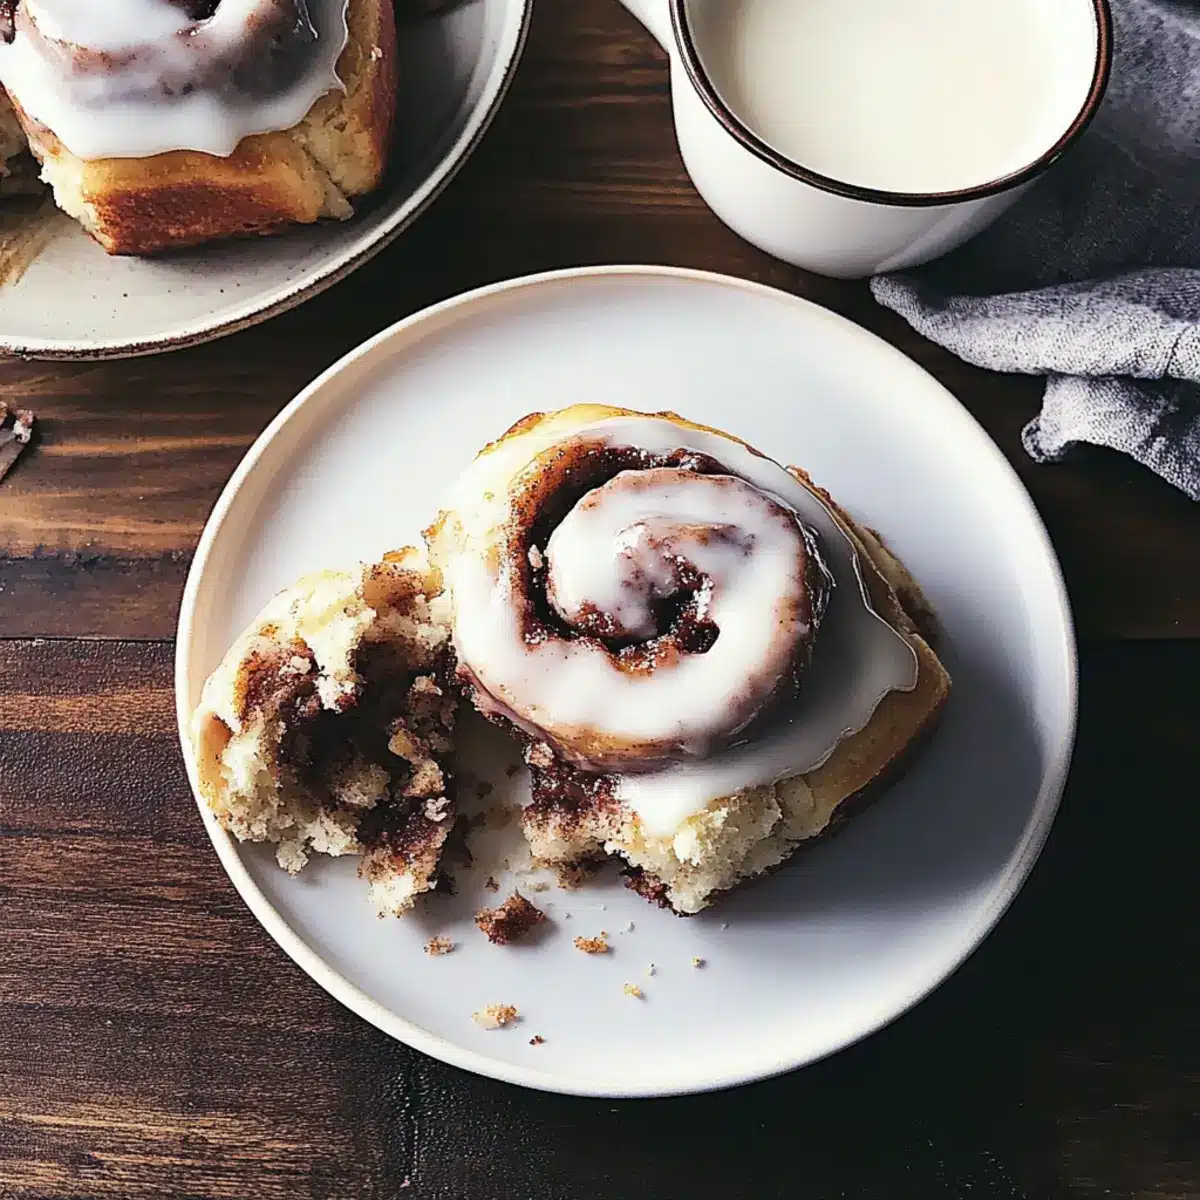
The tantalizing scent of freshly baked goods wafted through my kitchen, instantly bringing back memories of cozy mornings with cinnamon rolls warming in the oven. Today, I’m inviting you to recreate that magic with my gluten-free cinnamon rolls—a perfect blend of nostalgia and indulgence. These soft, fluffy beauties are not just a dream for those avoiding gluten; they’re an easy bake that’s not only crowd-pleasing but also freezer-friendly, making it simple to enjoy that comforting taste anytime. Imagine pulling out a warm roll, drizzled with sweet icing, any day of the week! Are you ready to fill your kitchen with that irresistible aroma? Let’s get rolling!
Why You’ll Crave Gluten-Free Cinnamon Rolls?
Warmth and Comfort: There’s nothing quite like the smell of freshly baked cinnamon rolls to transform your mornings into something magical. This gluten-free version delivers that nostalgia without the gluten, making your mornings brighter!
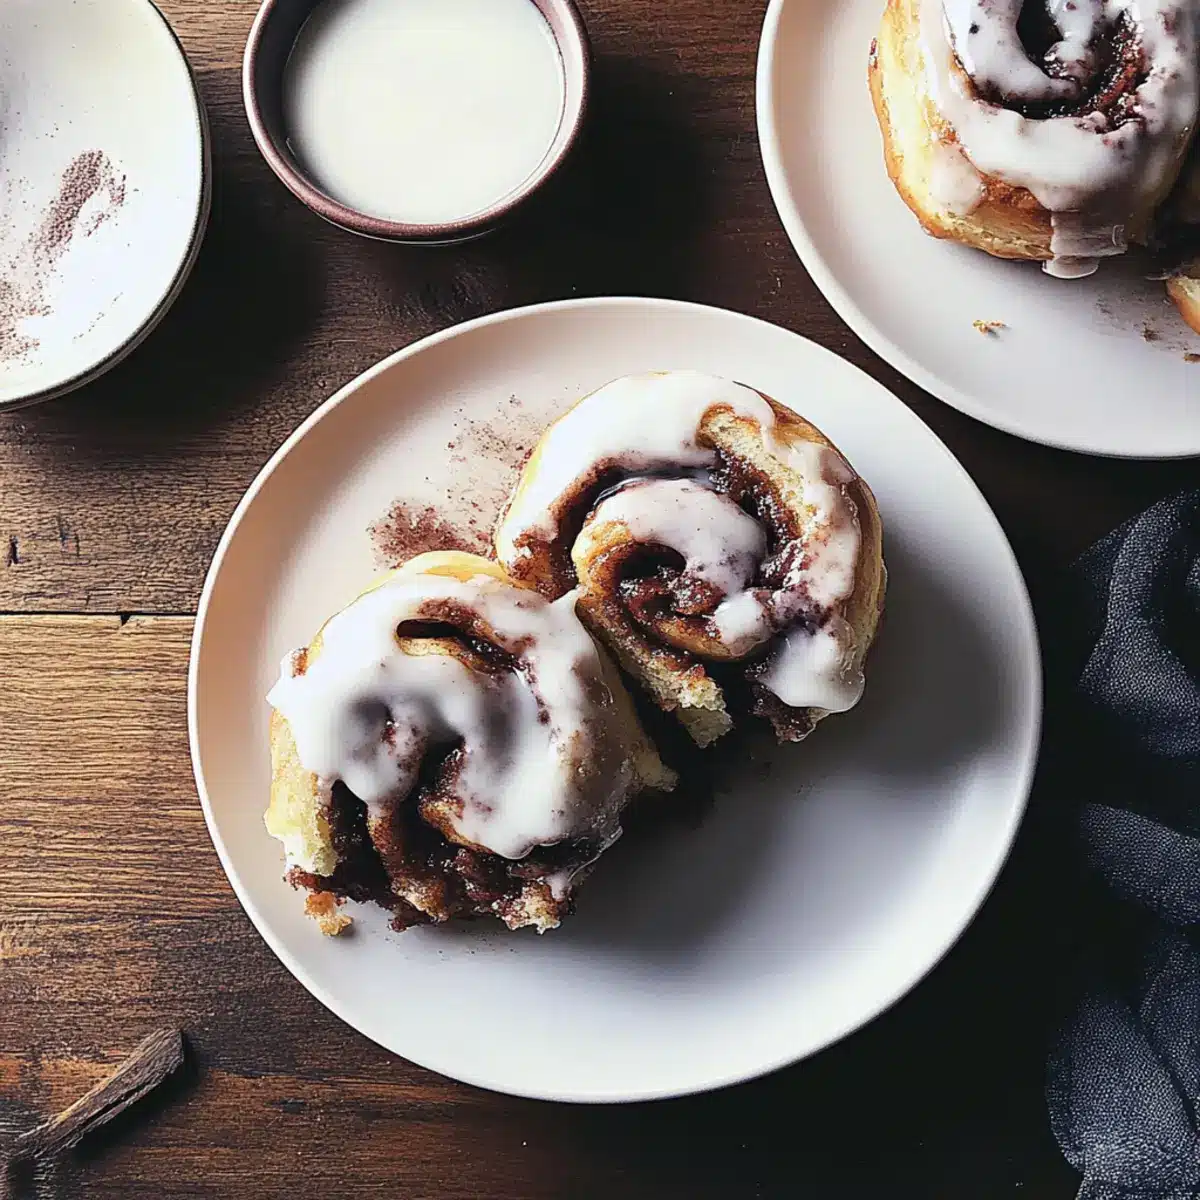
Soft and Pillowy Texture: These rolls are incredibly soft and fluffy, thanks to a perfect blend of gluten-free ingredients. They’ll melt in your mouth, offering a delightful mix of sweetness and spice.
Easy to Prepare: Don’t worry if you’re not an expert baker! This recipe is simple enough for everyone to handle, requiring no fancy techniques or hard-to-find ingredients.
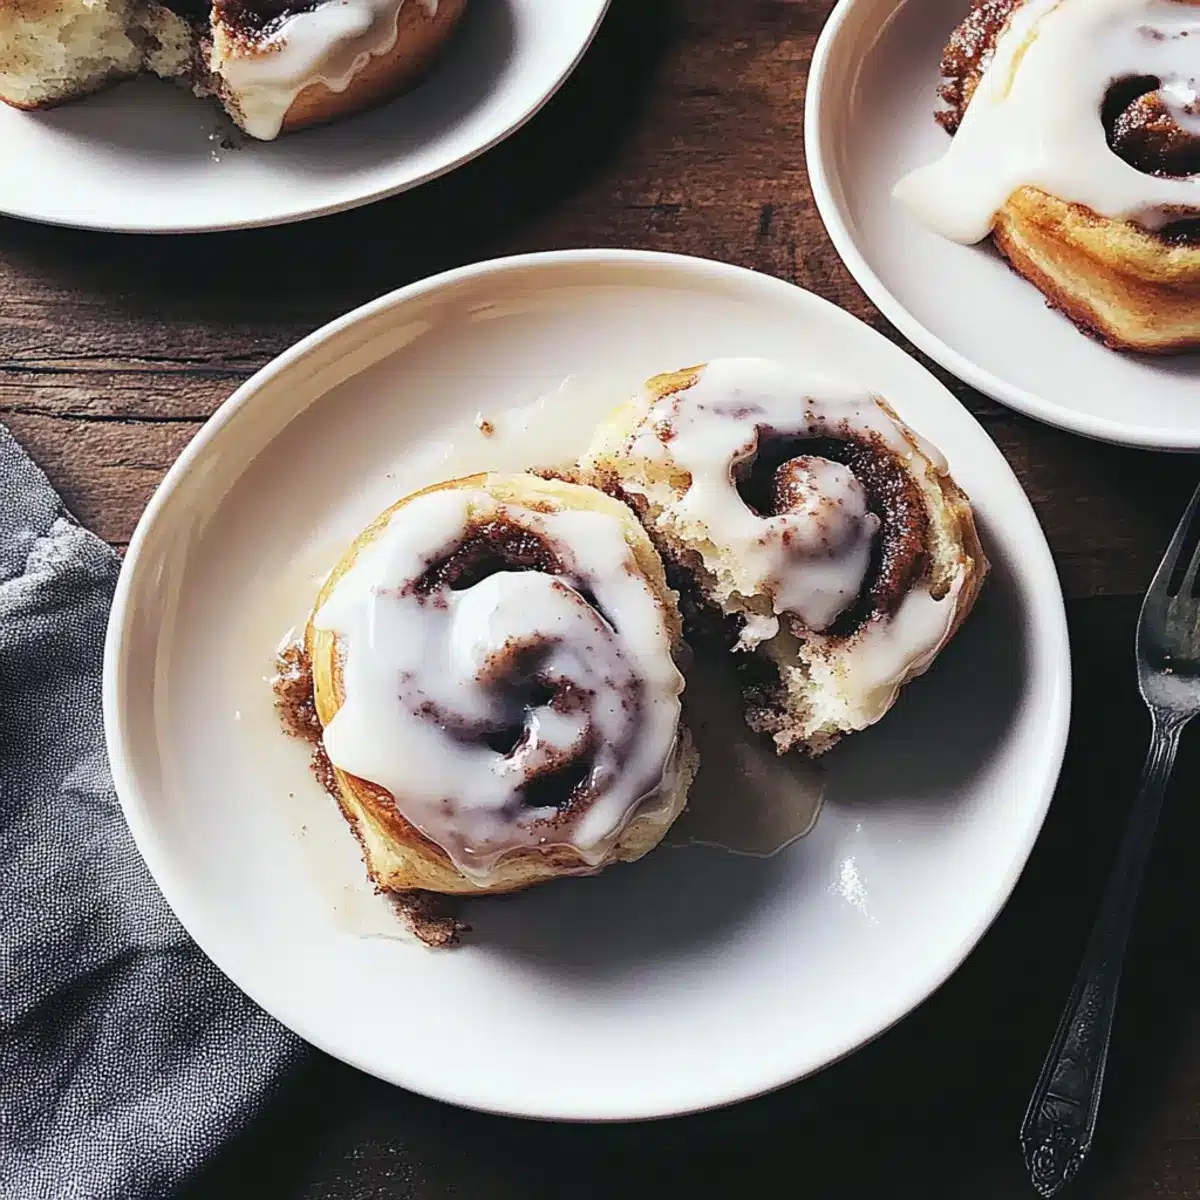
Versatile and Freezer-Friendly: Enjoy them fresh or make a large batch to freeze. Reheat on a busy morning for a quick and delicious breakfast option that everyone will love.
Perfectly Sweet Icing: The icing adds a deliciously sweet finish that takes these rolls over the top. Customize the glaze to your taste, making them perfect for any gathering or family breakfast!
These gluten-free cinnamon rolls are bound to be a household favorite, bringing joy to your kitchen and smiles to your family’s faces!
Gluten-Free Cinnamon Rolls Ingredients
For the Dough
• Gluten-Free All-Purpose Flour – This flour forms the base of the dough; feel free to swap in another gluten-free blend if desired.
• Milk – Adds moisture and richness; you can use dairy-free alternatives for a vegan option.
• Instant Yeast – Essential for making the rolls fluffy; ensure it’s fresh for the best rise.
• Granulated Sugar – Contributes sweetness and enhances browning; substitute with coconut sugar for a lower glycemic choice.
• Salt – Balances flavors and strengthens the dough’s structure.
• Butter – Enriches flavor and ensures a tender crumb; replace with dairy-free butter for a vegan version.
• Eggs – Provide moisture and hold everything together; use flax eggs or applesauce as a vegan substitute.
For the Filling
• Cinnamon – The heart of the roll’s flavor; make sure it’s fresh for the best aroma in your gluten-free cinnamon rolls.
• Brown Sugar – Adds moisture and depth to the filling; coconut sugar can be used here for a different flavor.
For the Icing
• Powdered Sugar – Base for the icing, creating that sweet finish.
• Milk – To achieve the perfect icing consistency; you can opt for almond milk for a dairy-free icings.
• Butter – Adds richness to the icing; again, use dairy-free butter for a vegan option.
• Vanilla – A touch of sweetness that elevates the icing’s flavor.
Gather these ingredients, and prepare to indulge in a delightful baking session that will fill your home with warmth and the heavenly scent of gluten-free cinnamon rolls!
Step‑by‑Step Instructions for Gluten Free Cinnamon Rolls
Step 1: Prepare Dough
In a stand mixer, combine 2 ½ cups of gluten-free all-purpose flour, ¼ cup granulated sugar, 1 packet of instant yeast, and ½ teaspoon of salt. Gradually add 1 cup of warm milk and 2 eggs, mixing on medium speed for about 3 minutes until a sticky dough forms. The dough should be cohesive but slightly sticky to the touch, ready for its first rise.
Step 2: First Rise
Cover the mixing bowl with a clean kitchen towel or plastic wrap and place it in a warm, draft-free area. Allow the dough to rise for 1 to 1.5 hours or until it has doubled in size and appears puffy. This step is crucial for achieving fluffy gluten-free cinnamon rolls, so be patient and let that magic happen!
Step 3: Make Filling
While the dough rises, prepare the filling. In a medium bowl, mix together ½ cup melted butter, ½ cup brown sugar, and 2 tablespoons of cinnamon until it resembles a sandy texture. This aromatic mixture will create the delicious sweet swirl that defines your gluten-free cinnamon rolls. Set aside until you’re ready to assemble.
Step 4: Shape Rolls
Once the dough has risen, lightly flour your work surface with gluten-free flour. Roll the dough out into a 12×18-inch rectangle. Spread the cinnamon filling evenly over the surface of the dough, leaving a small border around the edges. Roll the dough tightly into a log, then seal the edges to secure the filling. For easier slicing, freeze the log for about 20-30 minutes.
Step 5: Cut and Second Rise
After chilling, remove the log from the freezer and slice it into 8 equal pieces using unflavored dental floss for easy cutting. Place the rolls cut-side up on a lined baking sheet while ensuring there’s space between them. Cover with a towel and let rise for an additional 1.5 to 2 hours until they’ve puffed up beautifully, filling your kitchen with delightful scents.
Step 6: Bake
Preheat your oven to 350°F (175°C). Before baking, gently brush the tops of your gluten-free cinnamon rolls with milk to achieve a lovely golden color. Bake for 20-25 minutes or until they are golden brown and have risen nicely. The rolls should feel springy to the touch and release a heavenly cinnamon aroma as they bake.
Step 7: Ice and Serve
Once baked, remove the rolls from the oven and immediately brush them with melted butter for added richness. To make the icing, whisk together 2 cups of powdered sugar, 2 tablespoons of milk, 1 tablespoon of melted butter, and ½ teaspoon of vanilla until smooth. Drizzle the icing over your warm gluten-free cinnamon rolls and enjoy the delightful combination of flavors as they melt in your mouth!
What to Serve with Gluten-Free Cinnamon Rolls
Imagine a cozy breakfast table filled with warm, comforting bites that evoke memories of cherished moments.
-
Fresh Fruit Salad: Adds a burst of freshness and vibrant color, balancing the sweetness of the cinnamon rolls. Just the right crunch to complement the soft texture!
-
Scrambled Eggs: Light and fluffy, these eggs provide a savory contrast to the sweet rolls, making for a wholesome breakfast spread.
-
Creamy Yogurt Parfait: Layer yogurt with granola and berries for a creamy, crunchy treat. This pairing is perfect for those who appreciate texture and can be customized to your taste!
-
Maple Syrup Drizzle: A drizzle of real maple syrup enhances the cinnamon flavor and elevates each roll with a touch of sweetness. Perfect for caramelly bites!
-
Hot Coffee or Tea: Warm beverages are a classic pairing, their robust flavors beautifully complementing the aromatic cinnamon. Think of your favorite morning ritual!
-
Spiced Chai Latte: This aromatic and spicy drink pairs seamlessly with the sweetness of the rolls, creating a comforting experience for your taste buds.
Let your imagination run wild with these delightful pairings, making your gluten-free cinnamon rolls the star of a truly unforgettable breakfast!
How to Store and Freeze Gluten-Free Cinnamon Rolls
Room Temperature: Store leftover gluten-free cinnamon rolls at room temperature for up to 3 days. Wrap them in plastic wrap or place them in an airtight container to keep them fresh.
Fridge: For longer storage, place the rolls in the fridge for up to 5 days. Make sure they are well-wrapped to prevent them from drying out.
Freezer: Freeze uniced gluten-free cinnamon rolls by placing them in a single layer on a baking sheet until frozen solid, then transfer to a freezer-safe container or bag. They can be stored for up to 1 month.
Reheating: To enjoy them warm again, preheat your oven to 300°F and reheat the rolls for 5-10 minutes, or until heated through. Drizzle with icing before serving for an extra touch of sweetness!
Make Ahead Options
These gluten-free cinnamon rolls are a fantastic choice for meal prep, saving you precious time on busy mornings! You can prepare the dough and shape the rolls up to 24 hours in advance. Simply follow the steps to make the dough, let it rise, and then roll and cut the cinnamon rolls. Place them on a lined baking sheet, cover with plastic wrap, and refrigerate overnight. When you’re ready to bake, let them rise for about 1 to 2 hours at room temperature before popping them in the oven. This way, your gluten-free cinnamon rolls will be just as fluffy and delicious, bringing joy to your breakfast table with minimal effort!
Gluten Free Cinnamon Rolls Variations
Feel free to mix things up and elevate your gluten-free cinnamon rolls with these delightful twists that will surely enchant your taste buds!
-
Dairy-Free: Swap regular milk and butter for almond milk and coconut oil for a complete dairy-free delight.
The subtle coconut flavor pairs beautifully with the cinnamon, creating a unique twist that’s still comforting. -
Maple-Infused: Replace granulated sugar in the dough with maple syrup for a rich, earthy sweetness.
Just be mindful to reduce the liquid; nature’s syrup adds a remarkable depth to your rolls—perfect for maple lovers! -
Chocolate Lovers: Add semi-sweet or dairy-free chocolate chips to the cinnamon filling for a heavenly indulgence.
The melty chocolate melds perfectly with the sweetness, making each bite an irresistible joy. -
Nutty Texture: Incorporate finely chopped pecans or walnuts into your filling to add crunch and richness.
The nuts lend a delightful contrast to the soft roll, making your gluten-free cinnamon rolls a fancy treat! -
Cinnamon Raisin: Mix in a handful of plump raisins for a classic cinnamon raisin flavor explosion.
Soak the raisins in warm water for about 15 minutes to plump them up, enhancing their sweetness amidst the spices. -
Savory Herb Rolls: Skip the sweetness entirely and fill your rolls with a mixture of herbs and cheese, like garlic and cheddar.
Perfect for a unique brunch option, these savory rolls can turn into a delightful addition to any meal. -
Pumpkin Spice: Substituting some of the flour for pumpkin puree will add seasonal flavors to your rolls.
Spices like nutmeg and ginger will complement the pumpkin beautifully, making them perfect for fall gatherings!
Exploring these variations makes every batch a new adventure, and if you’re curious about more delicious gluten-free options, check out these easy gluten-free recipes or discover substitutions for baking with different diets that will keep the family excited for breakfast!
Expert Tips for Gluten-Free Cinnamon Rolls
-
Mix Well: Ensure the dough is mixed thoroughly for an even texture. Don’t skip this step; a well-mixed dough leads to fluffy gluten-free cinnamon rolls.
-
Use Floss for Cutting: When slicing the dough log, use unflavored dental floss for neat cuts without squashing the rolls. This trick gives you perfect-shaped cinnamon rolls every time!
-
Check Doneness: For a foolproof check, use a thermometer. The rolls should reach 205°F in the center to ensure a perfectly baked inside.
-
Cool Before Icing: Allow the rolls to cool slightly before icing to prevent the glaze from melting away. This keeps the icing intact for that beautiful presentation.
-
Freeze for Later: If you have extra rolls, freeze them uniced for up to a month. Easily reheat them when you’re craving a warm treat—perfect for busy mornings!
Gluten-Free Cinnamon Rolls Recipe FAQs
How can I ensure my gluten-free flour is good quality?
Absolutely! When selecting gluten-free all-purpose flour, look for brands that specify they are gluten-free and ideally, certified for safety. Check the packaging for a “best by” date, and choose flour that is visually free from clumps and dark spots. Freshness matters, so if it’s been sitting in your pantry for a while, it’s a good idea to buy a new bag.
What is the best way to store my gluten-free cinnamon rolls?
For fresh-cooked rolls, simply wrap them in plastic wrap or airtight containers and store at room temperature for up to 3 days. If you want them to last longer, the refrigerator is a great option for up to 5 days; just ensure they’re well-wrapped to avoid drying out.
Can I freeze gluten-free cinnamon rolls, and how do I do it?
Absolutely! After baking, let your gluten-free cinnamon rolls cool completely. To freeze, place them in a single layer on a baking sheet first, and freeze until solid. Then transfer them to a freezer-safe bag or container. They’ll keep well for up to 1 month! When you want to enjoy them, simply reheat in a preheated oven at 300°F for about 5-10 minutes.
What should I do if my dough does not rise?
Very! If your gluten-free cinnamon roll dough doesn’t rise as expected, double-check the freshness of your instant yeast. Make sure the milk you added was warm (but not too hot), as high temperatures can kill yeast. If it still doesn’t rise, it might need more time in a warm spot—patience is key! You can also try adding a little more yeast next time for a boost.
Are there any allergy considerations I should keep in mind?
Definitely! When baking gluten-free cinnamon rolls, be mindful of any allergies in your household. Common allergens in this recipe include eggs and dairy. For a vegan version, substitute eggs with flax eggs or unsweetened applesauce, and opt for dairy-free milk and butter. Always check ingredient labels for potential cross-contamination if someone has severe allergies.
How long are gluten-free cinnamon rolls good for?
The more the merrier! Wrapped up at room temperature, gluten-free cinnamon rolls can last for 3 days. If stored in the fridge, they can stretch to about 5 days. Just be sure to keep them airtight to maintain their soft and fluffy texture!

Irresistibly Soft Gluten Free Cinnamon Rolls for Joyful Mornings
Ingredients
Equipment
Method
- Combine gluten-free flour, sugar, yeast, and salt in a stand mixer. Gradually add warm milk and eggs, mixing until a sticky dough forms.
- Cover and let the dough rise in a warm area for 1 to 1.5 hours until it’s doubled in size.
- For the filling, mix melted butter, brown sugar, and cinnamon until sandy. Set aside.
- Roll dough into a 12x18-inch rectangle. Spread filling evenly, roll tightly, and seal the edges.
- Slice the log into 8 pieces and place on a lined baking sheet. Cover and let rise for an additional 1.5 to 2 hours.
- Preheat oven to 350°F (175°C). Brush rolls with milk and bake for 20-25 minutes until golden brown.
- Brush with melted butter, mix icing ingredients, and drizzle icing over warm rolls.
Leave a Reply