
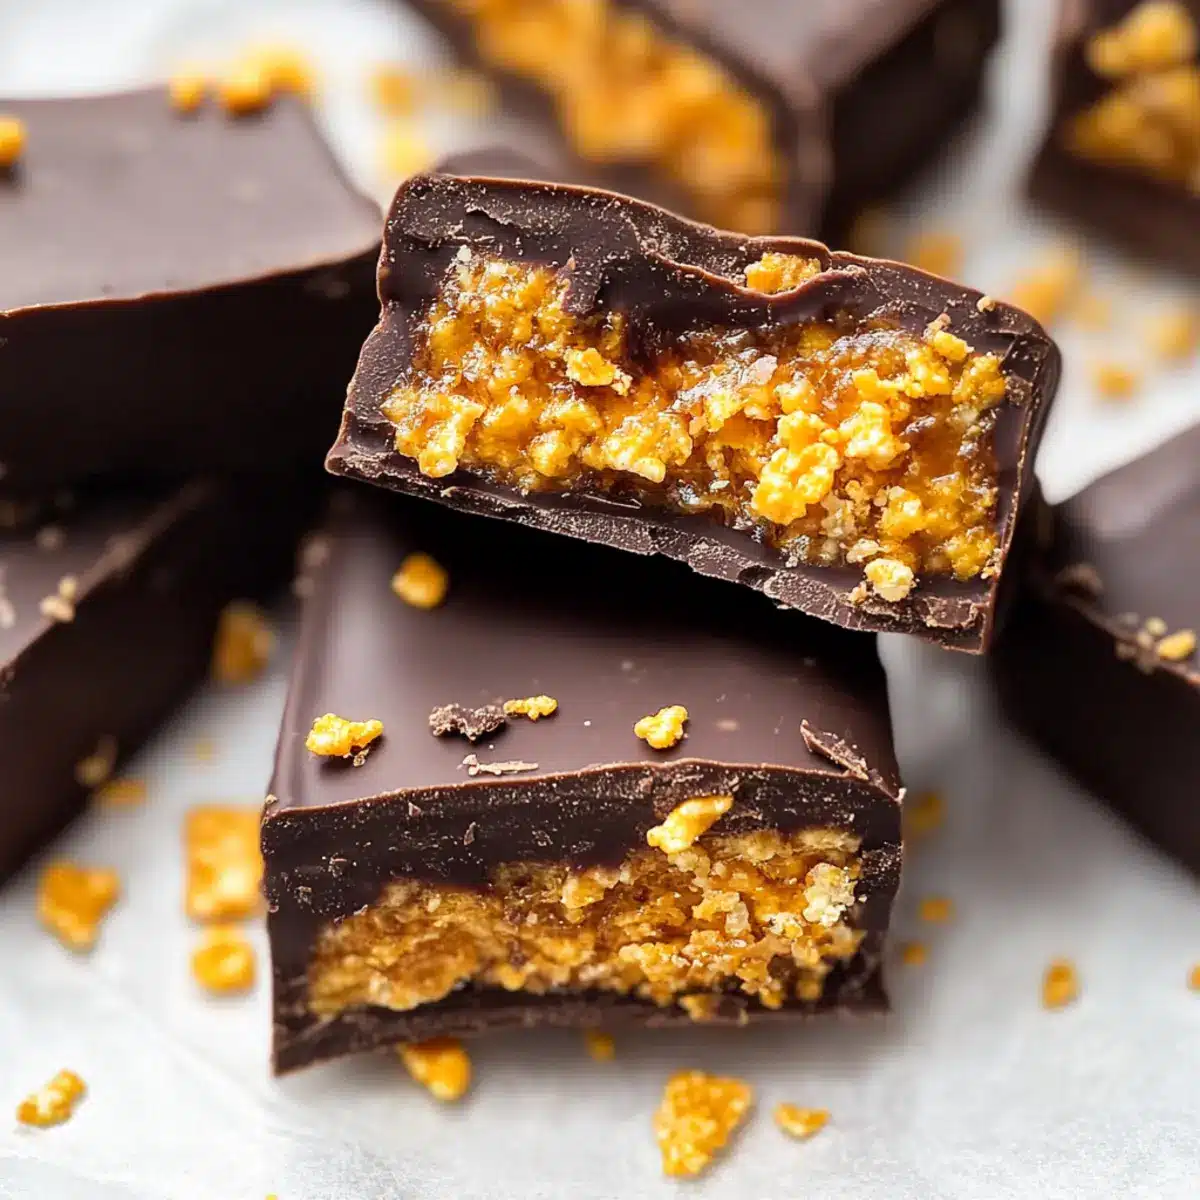
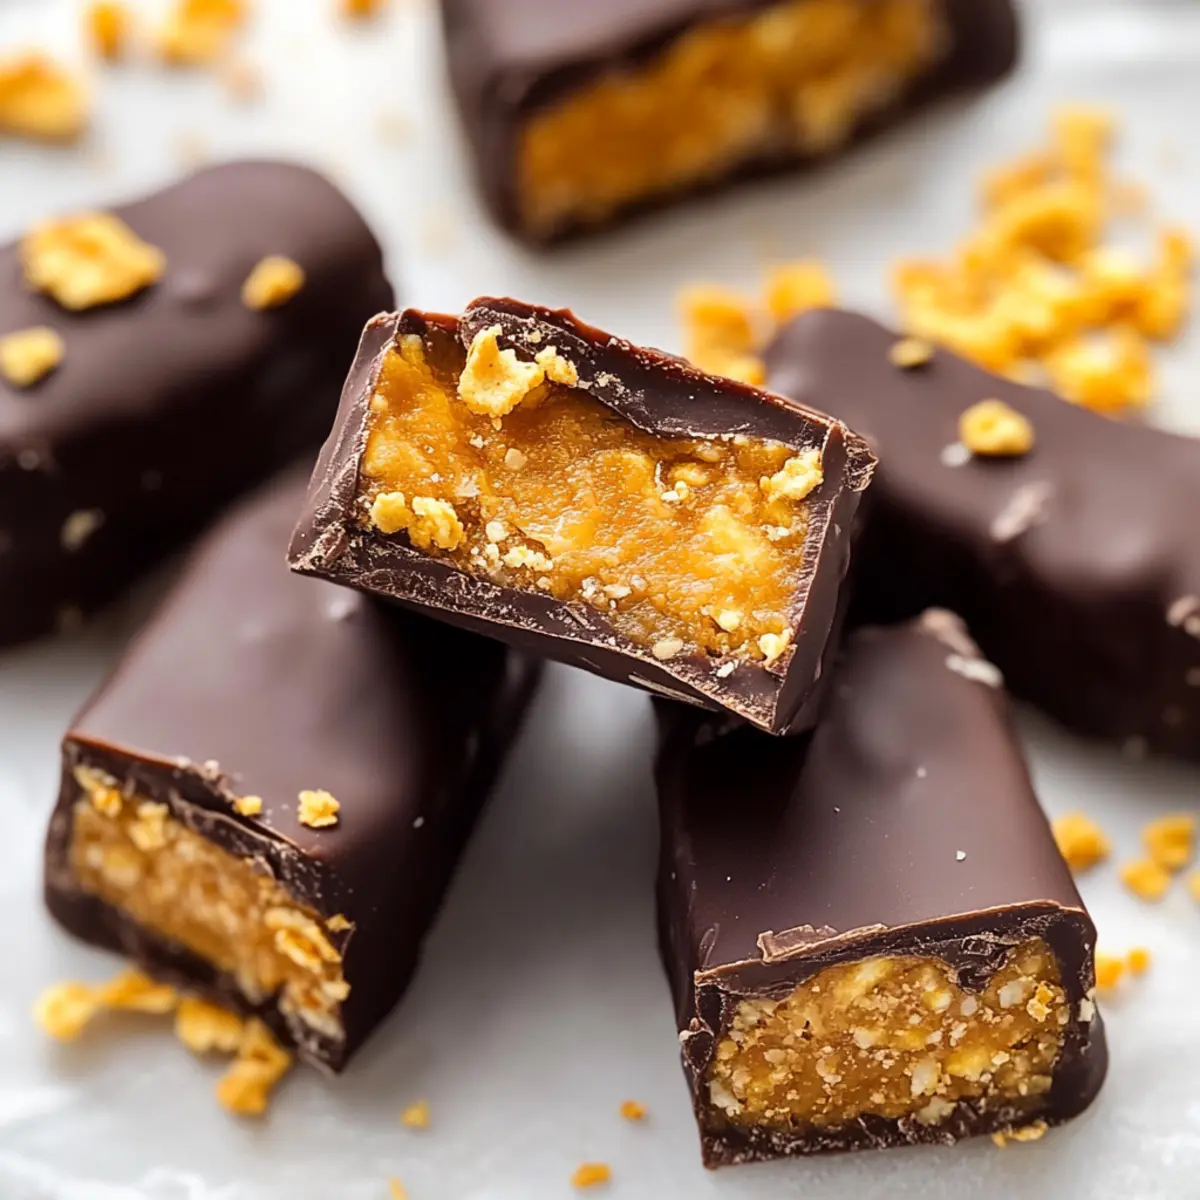
I still vividly remember the joy of unwrapping a classic candy bar, but with these Healthy Homemade Butterfingers, I’ve turned nostalgia into a guilt-free celebration. This delightful recipe features just five simple ingredients, making it an easy and wholesome treat to satisfy your sweet tooth. Not only are these bars gluten-free and dairy-free, but they’re also naturally sweetened, giving you that satisfying crunch without the sugary guilt. With a quick prep time, you can whip up a batch for yourself or share with loved ones who appreciate homemade goodness. Ready to dive into a healthier spin on a beloved classic? Let’s make some magic in the kitchen!
Why are Healthy Homemade Butterfingers a Must-try?
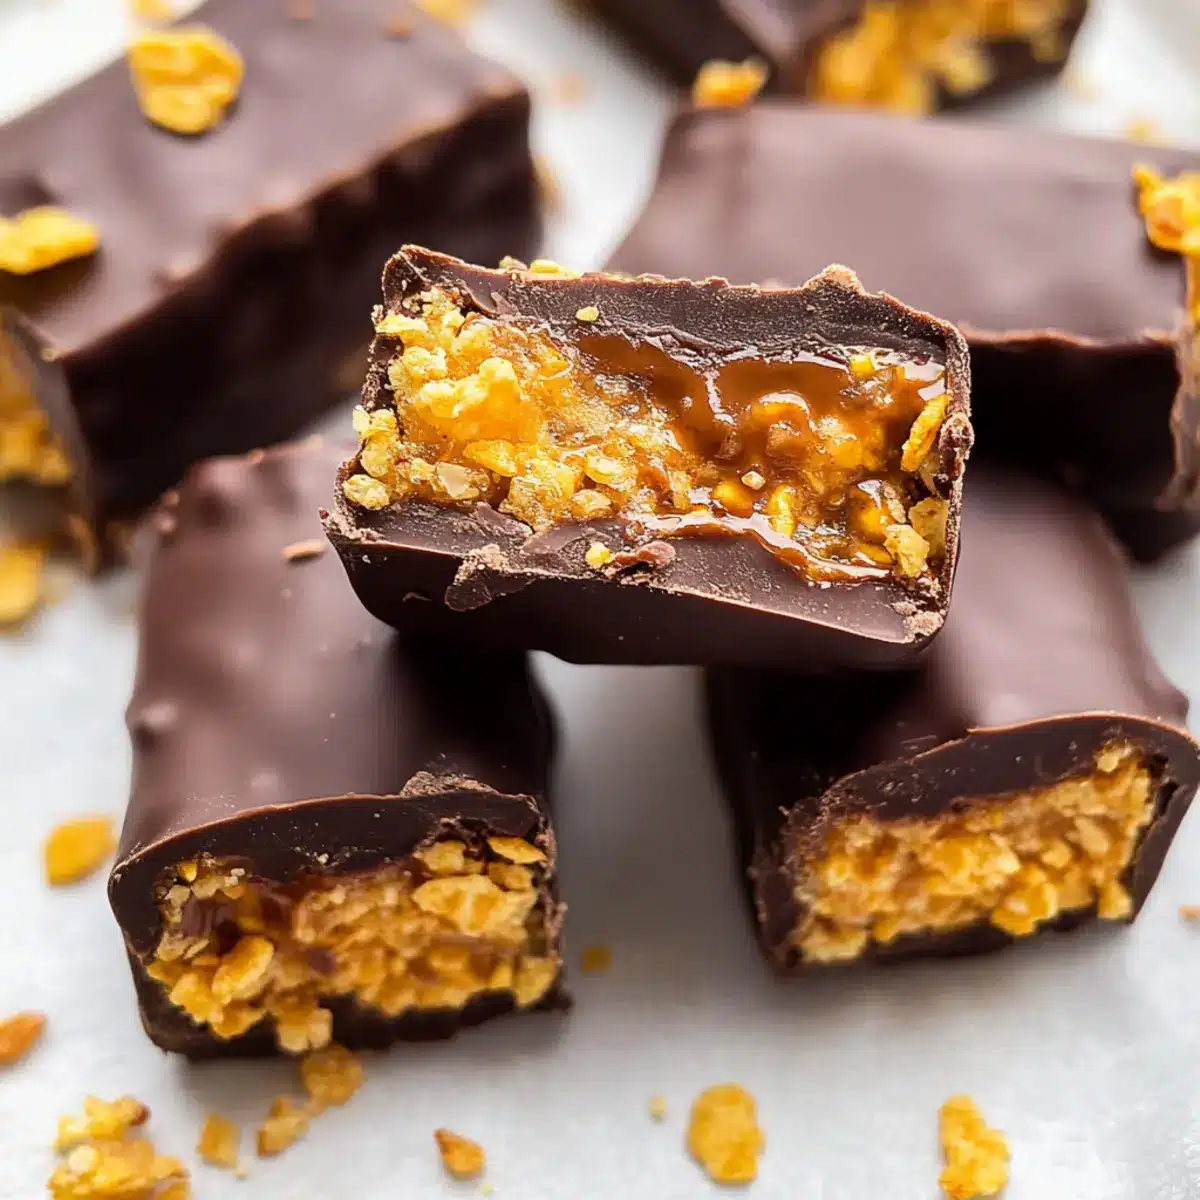
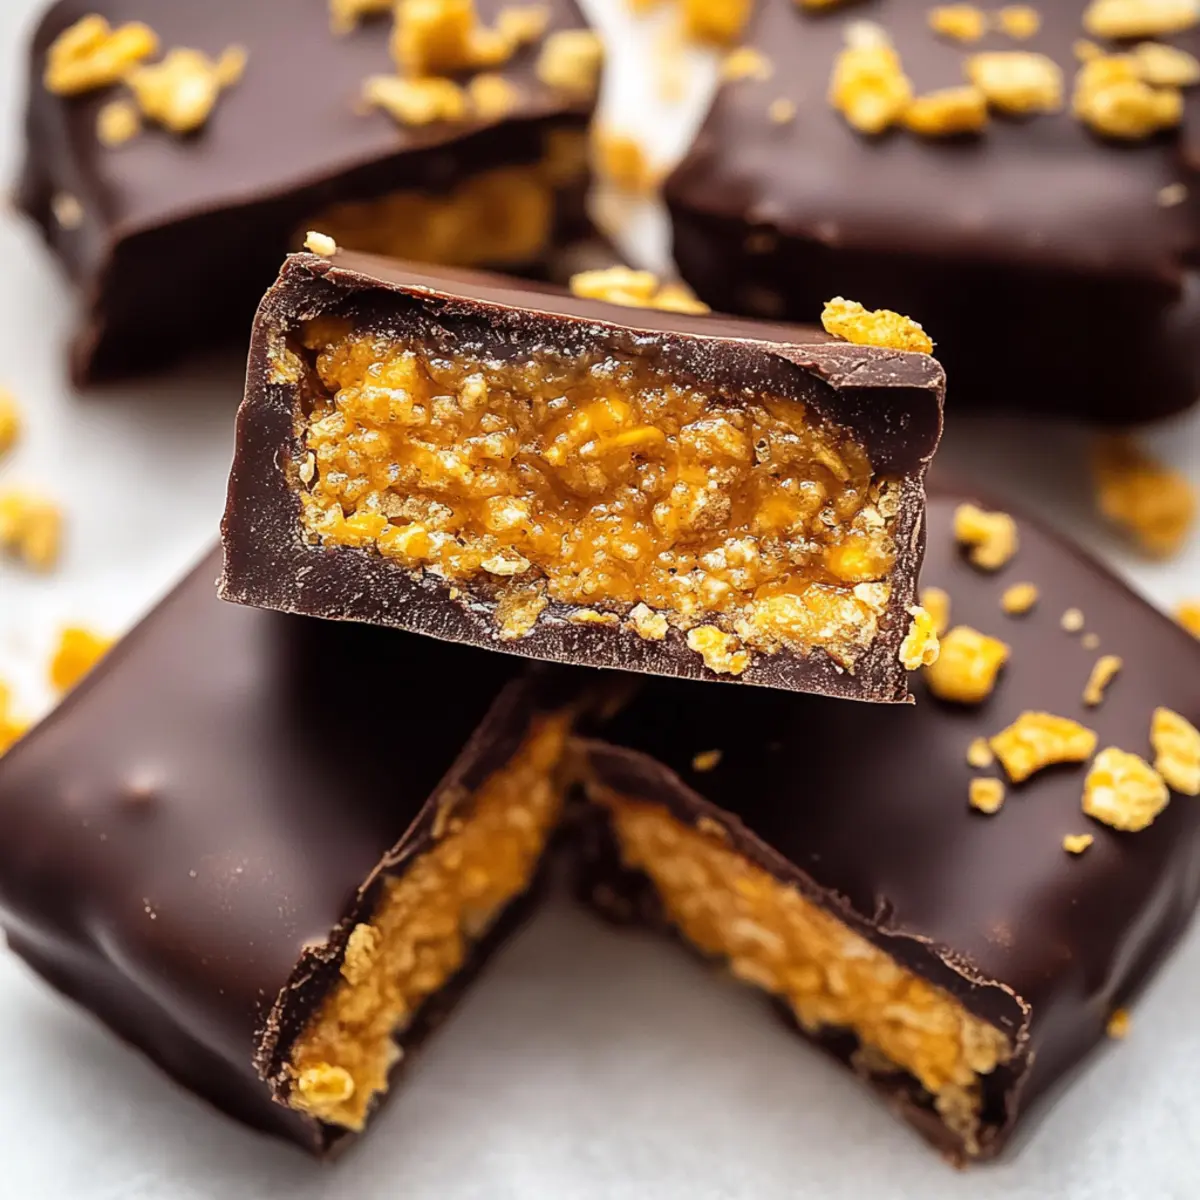
Irresistible Crunch: These Healthy Homemade Butterfingers deliver that satisfying crunch that candy lovers crave, without the guilt.
Quick Prep: With just five simple ingredients, you’ll whip these up in no time, perfect for busy schedules.
Versatile Sweetener: Feel free to customize your sweetness with choices like honey or agave syrup, tailored to your dietary needs.
Guilt-free Indulgence: Enjoy a dessert that fits your health goals—gluten-free, dairy-free, and naturally sweetened!
Crowd-Pleaser: Serve them at gatherings and watch as friends rave about the homemade flavor that rivals store-bought treats.
These bars are great for a quick snack or after-dinner treat. For more healthy dessert options, don’t forget to check out my article on easy homemade snacks.
Healthy Homemade Butterfingers Ingredients
For the Mixture
• Peanut Butter – This is what gives the bars their rich creaminess; substitute with almond butter for a nut-free twist.
• Maple Syrup or Honey – A natural sweetener that adds just the right touch of sweetness; agave syrup works well for a vegan option.
• Corn Flakes – These provide delightful crunch and texture; choose gluten-free corn flakes to keep it gluten-free.
For the Coating
• Chocolate Chips – Essential for that classic chocolatey coating; opt for dark chocolate chips for a more intense flavor.
• Coconut Oil – Helps thin the chocolate for perfect dipping; feel free to use vegetable oil if you’re in a pinch.
With these simple ingredients, your Healthy Homemade Butterfingers will satisfy even the strongest candy cravings while keeping health in mind!
Step‑by‑Step Instructions for Healthy Homemade Butterfingers
Step 1: Crush Corn Flakes
Begin by placing the corn flakes into a zip-top bag. Using a rolling pin or your hands, crush them into small pieces—aim for a breadcrumb-like texture. This should take about 2–3 minutes. The crushed corn flakes will add that signature crunch to your Healthy Homemade Butterfingers.
Step 2: Mix Ingredients
In a large mixing bowl, combine the creamy peanut butter with your choice of maple syrup or honey. Stir vigorously until the mixture is smooth and well incorporated. Gradually add the crushed corn flakes, folding them in gently. This step will take about 3–4 minutes, and you want to ensure everything is evenly mixed for a consistent texture.
Step 3: Set Mixture
Line a 9×4-inch loaf pan with parchment paper to prevent sticking. Transfer the peanut butter mixture into the pan, pressing down firmly to create an even layer. It’s crucial to ensure a tight pack to avoid crumbling when you cut the bars later. Place the loaf pan in the freezer for at least 1 hour to harden the mixture.
Step 4: Cut into Bars
Once the mixture is firm, remove it from the freezer and lift it out of the pan using the parchment paper. Place it on a cutting board and cut into 12 equal bars, using a sharp knife to ensure clean edges. These bars will soon become your favorite Healthy Homemade Butterfingers!
Step 5: Melt Chocolate
In a heatproof bowl, add the chocolate chips and coconut oil. Set this bowl over a saucepan of simmering water, ensuring the bowl does not touch the water, and stir gently until the chocolate is completely melted and smooth. This should take about 5 minutes. Proper melting ensures a glossy coating for your bars.
Step 6: Dip Bars
Carefully dip each of the cut bars into the melted chocolate, ensuring they are fully coated. Let any excess chocolate drip off before placing them on a parchment-lined plate. You may find it helpful to use a fork to handle the bars during this step, keeping them mess-free and deliciously coated.
Step 7: Final Freeze
Once all bars are dipped, transfer the plate back to the freezer for about 10 minutes. This final chilling allows the chocolate to set properly, giving you that perfect finish on your Healthy Homemade Butterfingers. When they are firm, they are ready to enjoy or store!
What to Serve with Healthy Homemade Butterfingers
Savoring these delightful bars is only the beginning; let’s elevate your treat experience with fantastic pairings.
-
Fresh Fruit Medley: The crispness of apples and pears complements the sweet crunch of butterfingers, creating a refreshing balance.
-
Creamy Nutella Dip: Dive deeper into decadence by pairing these bars with a rich Nutella dip, perfect for those who adore chocolate layers.
-
Coconut Chia Pudding: The creamy texture and subtle sweetness of coconut chia pudding pair beautifully, adding a wholesome touch to your dessert platter.
-
Vanilla Ice Cream: A scoop of smooth vanilla ice cream can enhance the indulgence, providing a cool, creamy contrast to the bars’ crunch.
-
Herbal Tea: Sipping on chamomile or minty green tea can cleanse the palate, making your candy experience all the more enjoyable after a sweet bite.
-
Crunchy Granola: Adding a sprinkle of granola on the side offers an extra layer of crunch, turning your treat into a more complex snack that satisfies the munchies.
-
Dark Chocolate Coffee: For the chocolate lover, a cup of dark chocolate-infused coffee makes for a rich beverage to go alongside your sweet treat.
-
Caramel Sauce: Drizzle some homemade caramel sauce over the butterfingers for an upgraded flavor explosion that brings out their sweetness.
These delightful pairings will surely make your Healthy Homemade Butterfingers the star of the snack table!
Storage Tips for Healthy Homemade Butterfingers
Freezer: Keep your Healthy Homemade Butterfingers in an airtight container in the freezer for up to 3 months. This ensures their delicious crunch and flavor remains intact.
Fridge: If you prefer a softer texture, store the butterfingers in the refrigerator for up to 1 week. Just make sure they’re in a sealed container to prevent them from drying out.
Reheating: For a warm treat, let the butterfingers sit at room temperature for a few minutes before indulging, making them even more irresistible!
Serving Suggestion: Serve them straight from the freezer or fridge for the best texture, and enjoy a guilt-free snack whenever the craving hits!
Expert Tips for Healthy Homemade Butterfingers
- Firm Pressure: Make sure to press the corn flake mixture firmly in the loaf pan; this prevents crumbling when you cut your Healthy Homemade Butterfingers.
- Quality Chocolate: Opt for high-quality chocolate chips for dipping to enhance the flavor and give a glossy finish to your bars.
- Room Temperature Adjustments: If the mixture is too firm before dipping, let it sit at room temperature for a few minutes; this makes the dipping process smoother.
- Chill Time: Allow enough freezing time for the mixture to set properly, at least 1 hour, for ideal texture and cutting ease.
- Storage Tips: Keep the butterfingers in an airtight container in the freezer, ensuring you enjoy a quick and healthy treat whenever cravings strike!
Healthy Homemade Butterfingers Variations
Feel free to explore these delightful twists on your Healthy Homemade Butterfingers and make them your own!
-
Nut-Free: Replace peanut butter with sunflower seed butter for a tasty, nut-free alternative that everyone can enjoy.
-
Vegan Option: Swap honey or maple syrup with agave syrup to make these homemade treats completely vegan-friendly.
-
Crunchy Add-Ins: Mix in some crushed almonds or walnuts to the peanut butter mixture for an extra layer of texture and a protein boost. Adding nuts enhances the bars’ nutritional profile while giving them a satisfying crunch.
-
Spicy Kick: For a fun twist, sprinkle a pinch of cayenne pepper or cinnamon into the chocolate before dipping the bars for a surprising flavor element. This touch of heat will wake up your taste buds!
-
Dairy-Free Chocolate: Use dairy-free chocolate chips to keep this recipe entirely dairy-free, ensuring everyone can indulge without worry. Enjoy a rich and creamy chocolate flavor without the dairy creaminess.
-
Different Flakes: Experiment with crispy rice cereal or puffed quinoa instead of corn flakes for a unique texture and a different flavor profile. Each option adds its own delightful twist to this classic treat.
-
Caramel Layer: Drizzle some homemade caramel or date syrup over the bars before dipping them in chocolate to add a sweet, gooey layer. The caramel layer packs a flavor punch that takes these bars to the next level of sweetness!
Remember, each variation allows you to make these Healthy Homemade Butterfingers your own, ensuring they cater to your cravings and dietary preferences! For more delicious ideas, don’t forget to check out my article on healthy dessert inspirations.
Make Ahead Options
These Healthy Homemade Butterfingers are perfect for meal prep enthusiasts! You can prepare the peanut butter mixture and set it in the loaf pan up to 24 hours in advance; just store it covered in the freezer to maintain quality. The mixture will remain just as delicious and crunchy when you’re ready to dip them in chocolate. If you want to save even more time, you can fully dip the bars and keep them in an airtight container in the freezer for up to 3 months. When ready to serve, simply remove them from the freezer and let them sit at room temperature for a few minutes before enjoying—your quick, guilt-free treat is all set!
Healthy Homemade Butterfingers Recipe FAQs
How do I choose ripe ingredients for my Healthy Homemade Butterfingers?
Absolutely! For the peanut butter, opt for a natural variety that contains no added sugars or oils for the healthiest option. If using honey or maple syrup, make sure they’re pure—look for 100% pure maple syrup without additives. Corn flakes should be fresh and crispy; check for any dark spots or a stale smell to ensure they’re perfect for that delightful crunch.
How do I store my Healthy Homemade Butterfingers?
You can keep your Healthy Homemade Butterfingers in an airtight container in the freezer for up to 3 months. This will help maintain their texture and flavor. If you prefer them a bit softer, feel free to store them in the fridge for up to 1 week. Just ensure they’re in a sealed container to prevent them from drying out!
Can I freeze Healthy Homemade Butterfingers?
Very! Freezing is the best option as it retains the bars’ crunch and flavor. After dipping them in chocolate, place the bars on a parchment-lined plate and freeze for about 10 minutes until the chocolate hardens. For longer storage, transfer to an airtight container once set, and they’ll be good for 3 months.
What should I do if my butterfingers crumble when cutting?
If your Healthy Homemade Butterfingers crumble, it may be due to not pressing the corn flake mixture firmly enough in the loaf pan. Next time, be sure to apply firm pressure to create a tight layer before freezing. Additionally, if the mixture seems too dry, consider adding a bit more peanut butter to enhance moisture.
Are Healthy Homemade Butterfingers safe for pets/allergy-free?
While these butterfingers are a tasty treat for humans, keep them away from pets, especially dogs, as peanut butter and chocolate can be harmful to them. For allergies, this recipe is naturally gluten-free and can be modified to be nut-free by using a seed butter alternative, such as sunflower seed butter, perfect for anyone with nut allergies.
What if I want to adjust the sweetness in my recipe?
The more the merrier! If you prefer a sweeter or less sweet bar, feel free to adjust the amounts of maple syrup or honey to your taste. Some people enjoy adding a touch of stevia or a similar sweetener for a lower-sugar alternative. Just remember, balancing sweetness is key, so start with smaller increments and taste along the way!
Healthy Homemade Butterfingers That Crush Your Candy Cravings
Ingredients
Equipment
Method
- Begin by placing the corn flakes into a zip-top bag. Crush them into small pieces with a rolling pin or your hands, aiming for a breadcrumb-like texture.
- In a large mixing bowl, combine the peanut butter with your choice of maple syrup or honey. Stir until smooth, then gradually add the crushed corn flakes.
- Line a 9x4-inch loaf pan with parchment paper. Transfer the peanut butter mixture into the pan, pressing down to create an even layer. Freeze for at least 1 hour.
- Once firm, remove from the freezer and cut into 12 equal bars.
- Melt chocolate chips and coconut oil in a heatproof bowl over a saucepan of simmering water, stirring until smooth.
- Dip each bar into the melted chocolate, ensuring they are fully coated, then let excess chocolate drip off.
- Transfer the dipped bars to a parchment-lined plate and freeze for about 10 minutes until the chocolate sets.
Leave a Reply