
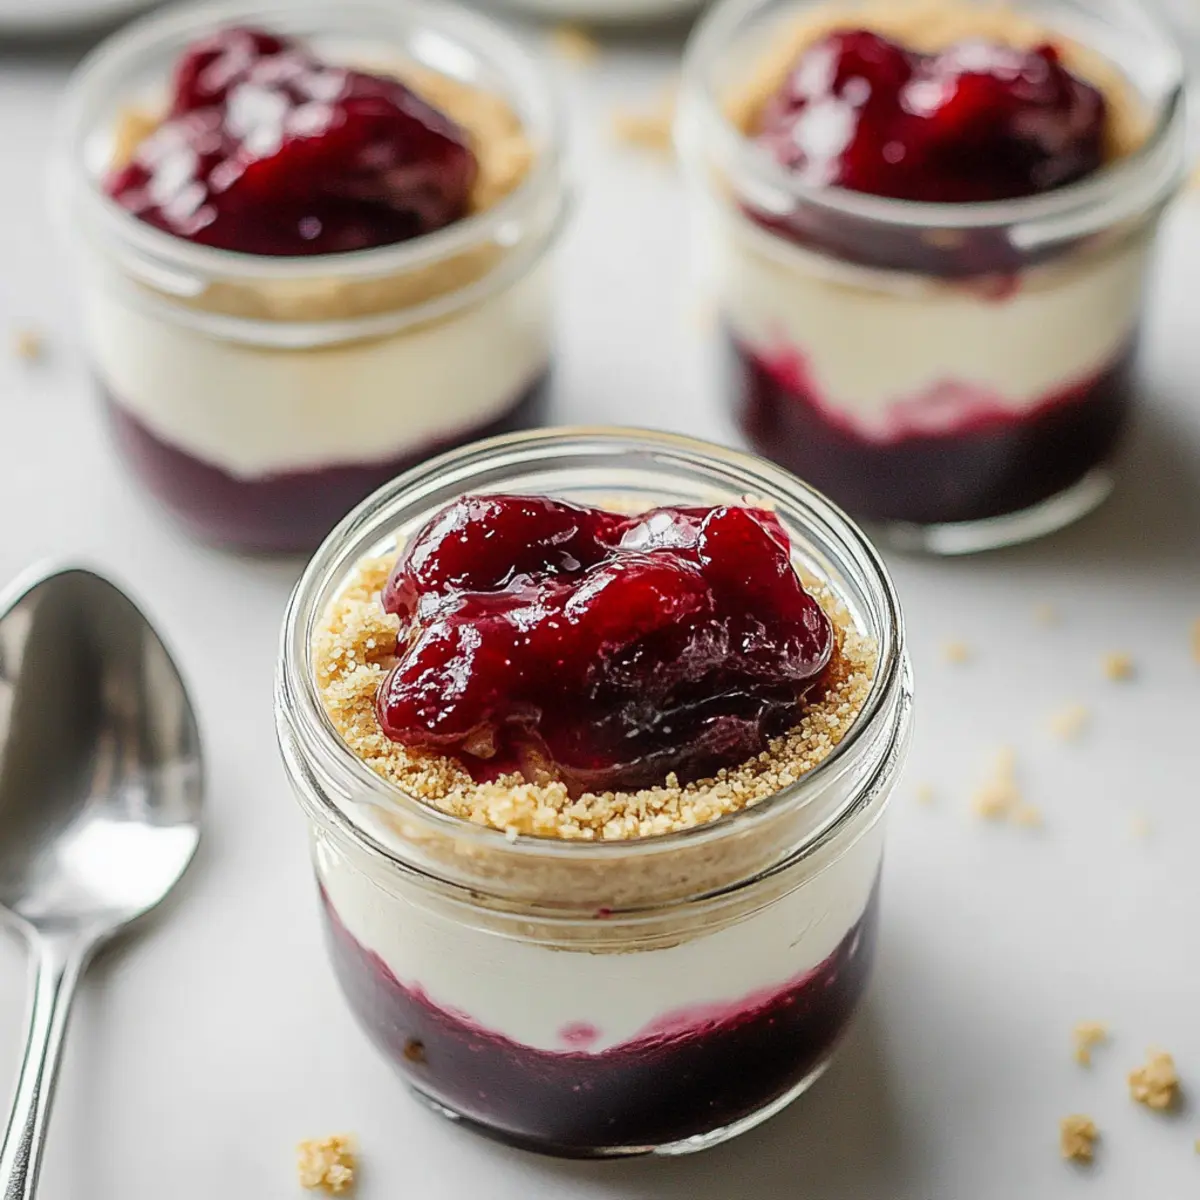
As I prepped for a gathering last weekend, I found myself in a mini panic over what to serve for dessert. Nothing too heavy, yet something everyone would sit up and notice. That’s when I remembered my favorite treat: a Healthier No-Bake Cheesecake in a Jar! This delightful dessert marries the classic flavors of creamy cheesecake with a fresh twist, using Greek yogurt and a drizzle of maple syrup. Not only is it heart-healthy and quick to prepare, but it also offers the versatility of being made ahead of time. Layered in adorable jars, each spoonful combines a velvety filling, a crunchy graham cracker crust, and a sweet cherry compote that is sure to impress your guests. Curious how to recreate this crowd-pleaser at home? Let’s dive in!
Why Try This No-Bake Cheesecake?
Simplicity at Its Best: The no-bake process means you can whip up this dessert without fussing over an oven, making it perfect for even the busiest home cooks.
Healthier Option: Swap out traditional ingredients for Greek yogurt and maple syrup, cutting down on calories without sacrificing flavor.
Versatile Delight: Feel free to switch up the topping! Try strawberries, blueberries, or a layer of rich chocolate ganache for a fun twist.
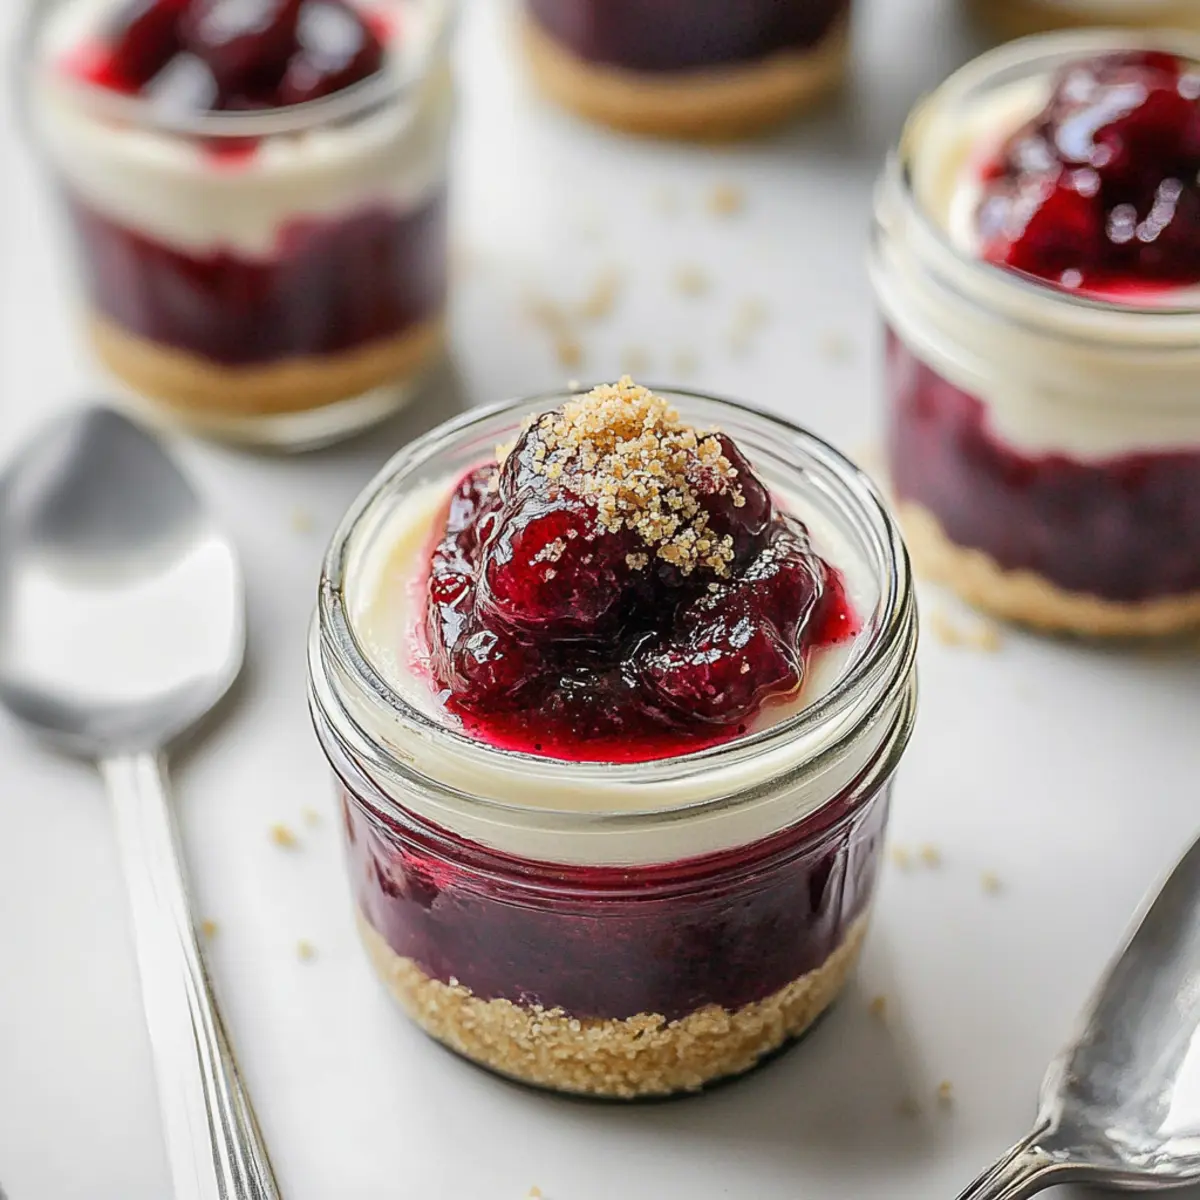
Crowd Pleaser: These adorable jars are ideal for gatherings, offering portion control while impressing guests with a stunning presentation.
Make Ahead Magic: Prep the jars a day or two in advance for hassle-free entertaining. Bonus: they store beautifully in the fridge!
Treat yourself to this delicious dessert, and for more delightful ideas, check out our tips for healthier desserts and easy no-bake recipes!
No-Bake Cheesecake Ingredients
• Perfect for your no-bake cheesecake in a jar!
For the Cherry Compote
- Pitted Cherries – Adds natural sweetness and tartness; use fresh or frozen based on availability.
- Pure Maple Syrup – Sweetens the cherry topping; you can substitute it with honey or agave syrup if preferred.
- Fresh Lemon Juice – Provides acidity and brightness to balance out the sweetness.
- Corn Starch – Thickens the cherry sauce for a perfect compote consistency.
For the Cheesecake Filling
- Cream Cheese – Forms the base of the cheesecake filling with creamy texture; remember to soften it to room temperature for easier mixing.
- Plain Full-Fat Greek Yogurt – Makes the cheesecake healthier while adding creaminess and protein; consider using low-fat yogurt, but be aware it may slightly alter the taste and texture.
For the Graham Cracker Crust
- Graham Cracker Crumbs – Creates the crust for the cheesecake; gluten-free crumbs can be used for a gluten-free option.
- Butter – Binds the graham cracker crumbs for a cohesive crust; coconut oil can serve as a substitute for a dairy-free version.
Enjoy crafting this delicious no-bake cheesecake in a jar, perfect for any occasion!
Step‑by‑Step Instructions for No-Bake Cheesecake in a Jar
Step 1: Prepare Cherry Compote
In a medium saucepan, combine pitted cherries, pure maple syrup, fresh lemon juice, and a little water over medium heat. Sprinkle in the corn starch while stirring gently to avoid lumps. Let the mixture cook for 5-10 minutes until it thickens and becomes syrupy. Remove it from the heat and set aside to cool while you work on the cheesecake filling.
Step 2: Make Cheesecake Filling
In a mixing bowl, combine softened cream cheese, full-fat Greek yogurt, maple syrup, and remaining lemon juice. Using an electric mixer or whisk, blend these ingredients on medium speed until you achieve a smooth and creamy consistency, about 2-3 minutes. Once mixed well, refrigerate the filling for about 15-20 minutes to firm up while you prepare the crust.
Step 3: Create Graham Cracker Crust
Melt butter in a small saucepan or microwave until fully liquefied. In a bowl, mix the melted butter with graham cracker crumbs until the crumbs are evenly coated and resemble wet sand. Distribute this mixture evenly into six small mason jars, pressing down firmly to create a solid crust layer. Make sure the crust is compact to hold the cheesecake layer.
Step 4: Assemble Jars
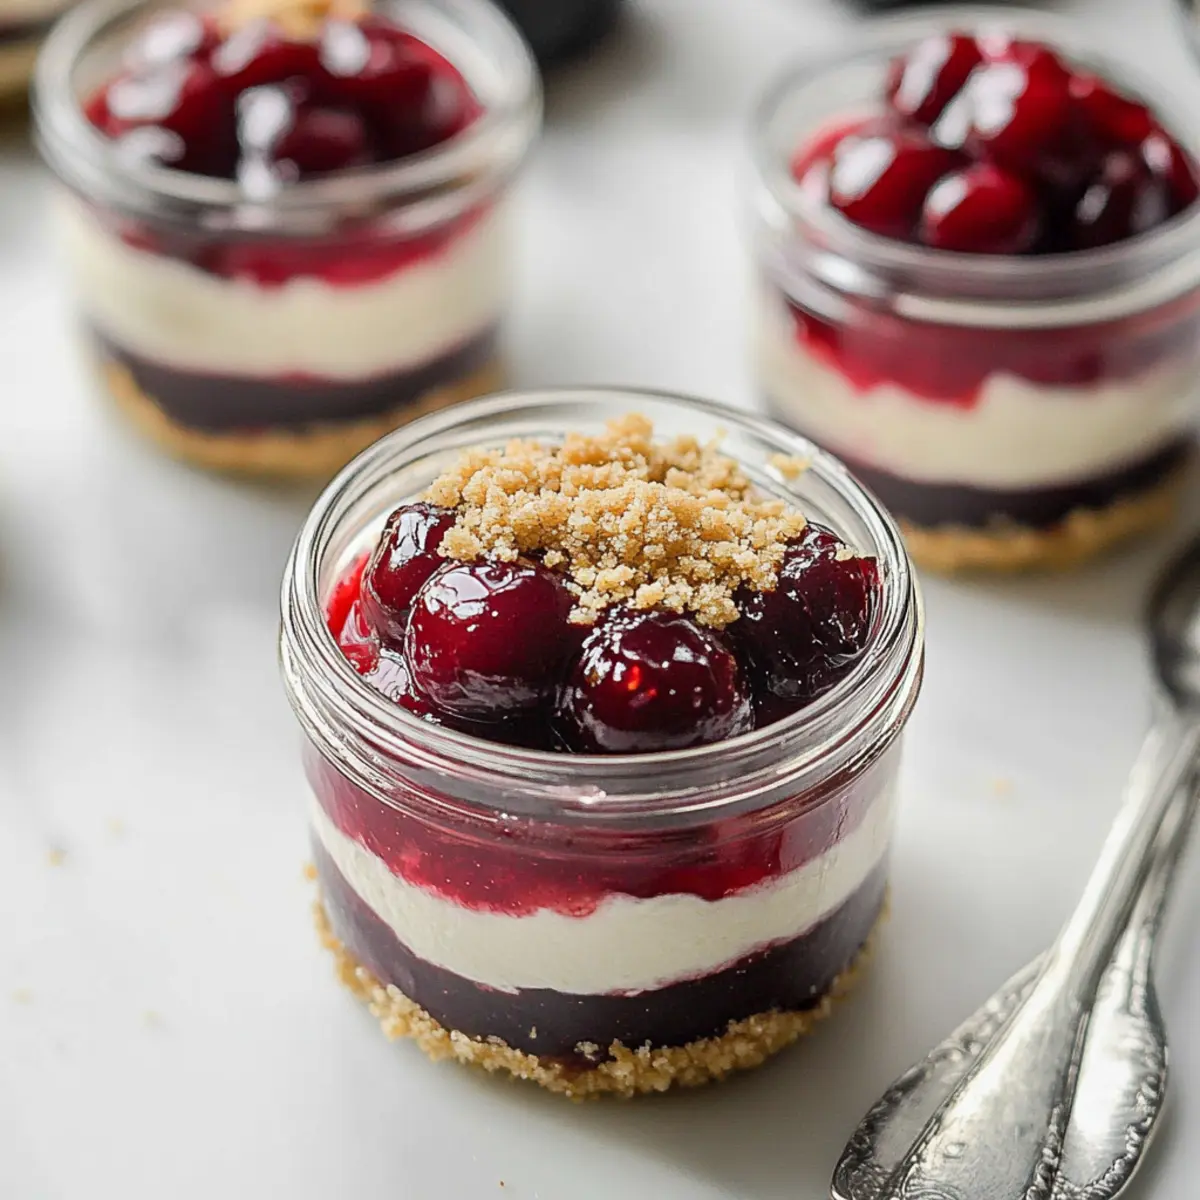
Retrieve your chilled cheesecake filling from the refrigerator. Using a spoon, add a generous layer of the cheesecake filling into each jar on top of the graham cracker crust. Gently tap the jars on the counter to settle the filling and eliminate any air pockets. Then, top each jar with a spoonful of the cooled cherry compote, creating a lovely layered effect.
Step 5: Chill & Enjoy
Cover each jar with a lid or plastic wrap, and refrigerate them for at least 1 hour to allow the cheesecake to set. For a firmer texture, consider chilling them overnight. Once set, your delightful No-Bake Cheesecake in a Jar is ready to serve, straight from the fridge for a sweet and refreshing treat!
No-Bake Cheesecake in a Jar Variations
Feel free to get creative and make this delightful cheesecake your own!
-
Berry Bliss: Swap cherries for mixed berries like strawberries or blueberries for a vibrant, fruity topping.
-
Chocolate Indulgence: Add a layer of melted chocolate ganache for a tempting chocolate cheesecake twist. Just drizzle it over the filling before adding your berry topping!
-
Flavored Yogurt: Use flavored Greek yogurt, such as vanilla or coconut, to deepen the flavors of your cheesecake filling.
-
Nutty Crunch: Enhance the graham cracker crust by mixing in crushed nuts or oats. This will give your cheesecake a delightful nutty flavor and a satisfying crunch!
-
Dairy-Free Delight: Substitute cream cheese and Greek yogurt for non-dairy alternatives like cashew cream and coconut yogurt for a delicious vegan version.
-
Spiced Up: Add a dash of cinnamon or nutmeg to the cheesecake filling for a warm spice that complements the sweetness beautifully.
-
Tropical Twist: Use crushed pineapple instead of cherries and switch to coconut yogurt for a refreshing tropical flavor.
If you’re on the lookout for more variations, don’t forget to check out our delightful tips for healthier desserts and some quicker no-bake recipes!
Make Ahead Options
These delightful No-Bake Cheesecake in a Jar are perfect for busy home cooks looking to save time during the week! You can prepare the cherry compote and cheesecake filling up to 24 hours in advance. Simply make the compote and let it cool before storing it in an airtight container in the refrigerator. Assemble the jars just before serving; this way, the graham cracker crust stays crunchy and the cheesecake remains fresh. When it’s time to enjoy, layer the filling over the crust, add the compote, and refrigerate for about an hour if needed. You’ll have a beautifully set dessert that tastes just as delicious as if you made it all at once!
What to Serve with Healthier No-Bake Cheesecake in a Jar
Looking to create a delightful spread that complements your creamy, luscious cheesecake jars?
- Fresh Berries: The bright taste of strawberries, blueberries, or raspberries adds a naturally sweet and juicy burst, enhancing the dessert experience.
- Crispy Salad: A refreshing mix of greens with a citrus vinaigrette balances the sweetness of the cheesecake, providing a delightful contrast in flavors.
- Sparkling Water with Mint: A bubbly drink infused with mint leaves refreshes the palate after each rich bite, making it a perfect companion.
- Coffee or Herbal Tea: A warm cup of coffee or calming herbal tea rounds out your dessert experience, inviting you to linger longer after the meal.
- Chocolate Dipped Biscotti: These crunchy treats offer a satisfying texture that pairs beautifully with the chewy layer of graham crackers in the dessert.
- Mini Fruit Tarts: Serve alongside your jars for a colorful treat that mirrors the flavors of summer fruits, appealing to both the eyes and the taste buds.
Create a charming and inviting dessert table by combining these delightful options for a meal your guests will cherish!
How to Store and Freeze No-Bake Cheesecake in a Jar
Fridge: Store the no-bake cheesecakes in the refrigerator for up to 2 days. Keep them covered with lids or plastic wrap to maintain freshness and prevent drying out.
Freezer: These delightful jars can be frozen (without toppings) for up to 3 months. Place them in an airtight container or wrap each jar in plastic wrap to prevent freezer burn.
Thawing: When ready to enjoy, transfer the jars from the freezer to the fridge for about 6-8 hours or overnight to thaw. Add the cherry compote right before serving for the best taste.
Reheating: Enjoy these chilled directly from the fridge! They are meant to be served cold for the ultimate refreshing dessert experience.
Expert Tips for No-Bake Cheesecake in a Jar
-
Chill Longer for Firmness: Refrigerate the jars overnight for a firmer cheesecake texture that holds its shape beautifully when served.
-
Avoid Overmixing: Mix the cheesecake filling gently to prevent air bubbles, which can make the texture light rather than dense and creamy.
-
Ingredient Substitutions: If you prefer lower calories, you can use low-fat Greek yogurt, but be prepared for a slightly different taste and texture in your no-bake cheesecake.
-
Graham Cracker Consistency: Ensure that your graham cracker crumbs are finely crushed and well combined with melted butter to create a sturdy crust in each jar.
-
Taste Test Your Layers: Before assembling, taste the cherry compote and cheesecake filling to adjust sweetness levels; you can always add more maple syrup if needed!

Healthier No-Bake Cheesecake in a Jar Recipe FAQs
How do I choose ripe cherries for the compote?
Absolutely! When selecting cherries, look for ones that are plump and have a deep red color. They should feel firm but not hard, and avoid those with dark spots or blemishes as they may be overripe. Fresh cherries are preferable, but frozen pitted cherries work just as well if fresh ones aren’t available.
How long can I store these cheesecake jars in the refrigerator?
Very! You can store the no-bake cheesecake jars in the refrigerator for up to 2 days. Make sure they are covered with lids or plastic wrap to retain their freshness and prevent drying. This makes it easy to prepare in advance for gatherings!
Can I freeze the no-bake cheesecake jars?
Absolutely! You can freeze these delicious jars without the toppings for up to 3 months. Just be sure to place them in an airtight container or wrap each jar tightly in plastic wrap to minimize freezer burn. Remember to add fresh compote after thawing!
What should I do if my cheesecake filling is too runny?
If your cheesecake filling turns out runny, it may be due to overmixing or not incorporating enough thickening agents. Don’t worry! Try refrigerating it longer to help it set. If consistency issues occur, consider adding small amounts of corn starch, mixing thoroughly, and refrigerating again. Alternatively, you can blend in a bit more softened cream cheese until the desired texture is achieved!
Are there any dietary considerations I should keep in mind while making this cheesecake?
Definitely! If you’re serving this dessert to guests with dietary restrictions, keep in mind that traditional graham crackers contain gluten. For a gluten-free option, substitute with gluten-free graham cracker crumbs. Additionally, ensure that your ingredients align with any allergies, such as using dairy-free butter or alternatives in the filling if lactose intolerance is a concern.
How do I tell if the cheesecake has set properly?
For sure! After chilling, gently jiggle the jars to check for firmness. If they wobble slightly but hold their shape, they’re ready to enjoy. A well-set cheesecake should not be overly liquidy. If you’d like more stability, you can always keep them in the fridge longer, ideally overnight, for the best results!
Satisfy Your Sweet Tooth with No-Bake Cheesecake in a Jar
Ingredients
Equipment
Method
- In a medium saucepan, combine pitted cherries, pure maple syrup, fresh lemon juice, and a little water over medium heat. Sprinkle in corn starch while stirring gently to avoid lumps. Cook for 5-10 minutes until thickened and syrupy. Remove from heat and cool.
- In a mixing bowl, combine softened cream cheese, Greek yogurt, maple syrup, and lemon juice. Blend on medium speed until smooth and creamy, about 2-3 minutes. Refrigerate filling for 15-20 minutes.
- Melt butter until liquefied. Mix with graham cracker crumbs until evenly coated. Distribute mixture into six jars, pressing down firmly to create a crust layer.
- Add a layer of cheesecake filling into each jar on top of the graham cracker crust. Tap jars gently on the counter to settle filling and eliminate air pockets. Top with cooled cherry compote.
- Cover jars with lids or plastic wrap and refrigerate for at least 1 hour, preferably overnight for a firmer texture.
Leave a Reply