
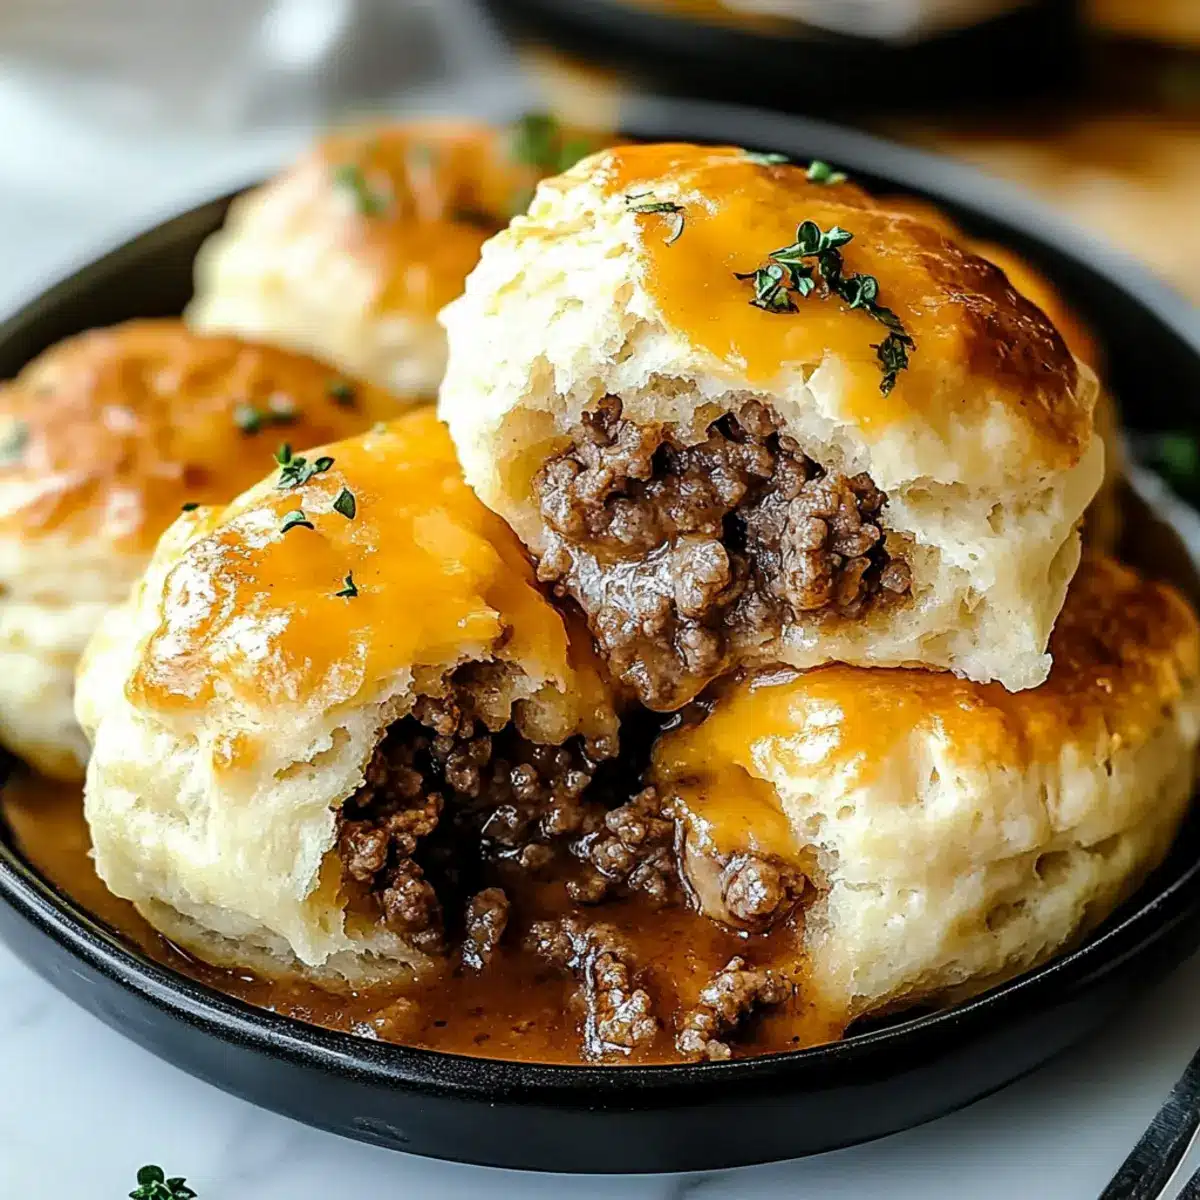
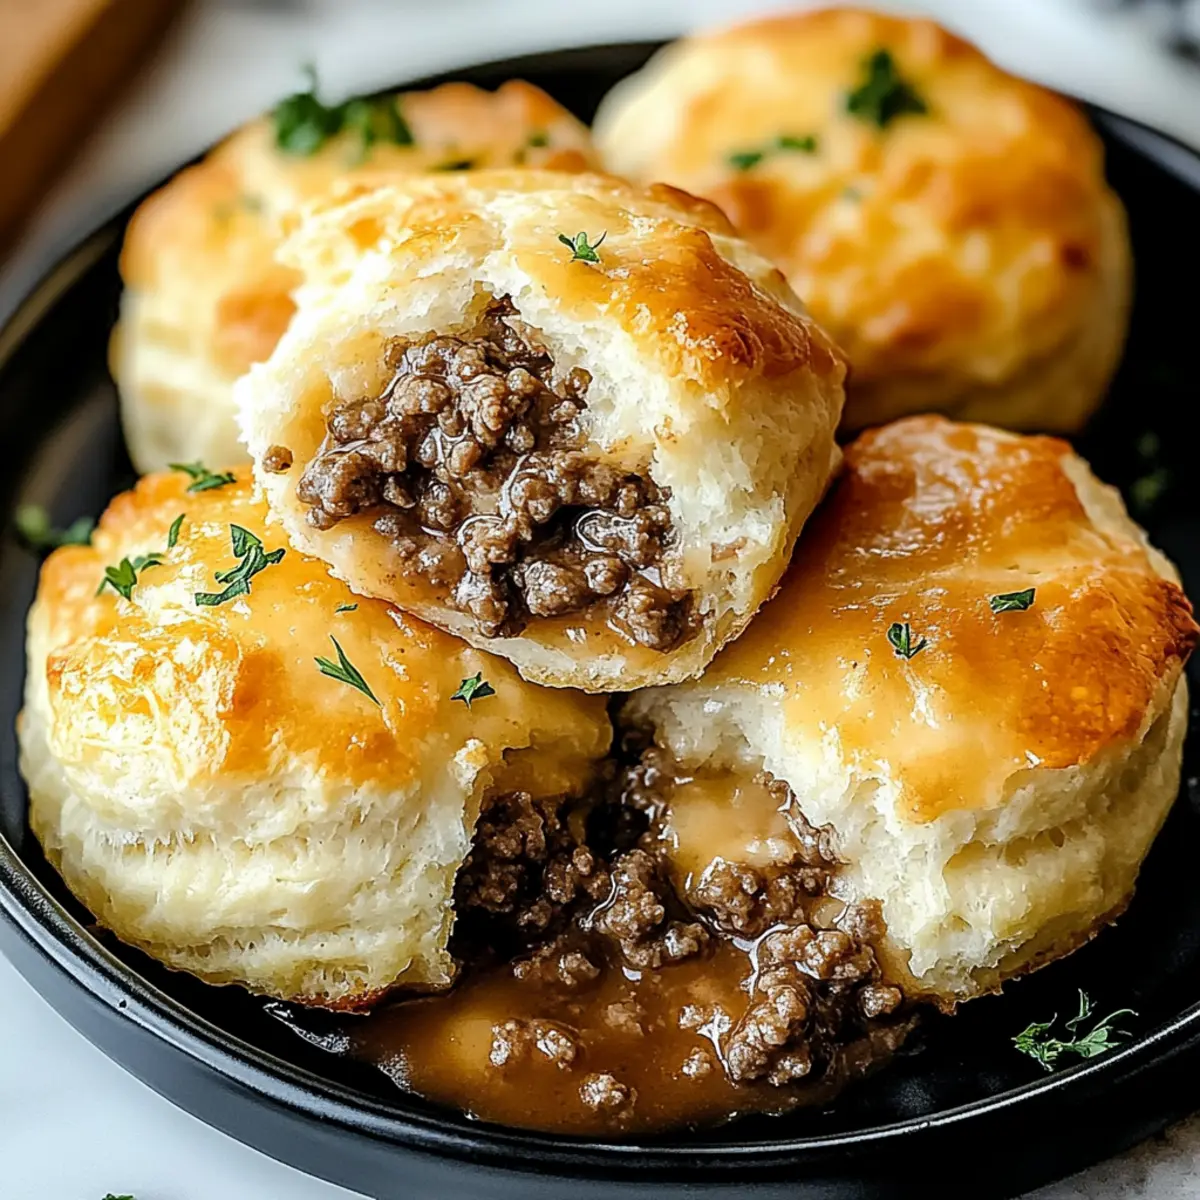
“Excuse me, but did you just say cheesy beef biscuit bombs?” I overheard someone exclaim during a casual lunch. In that moment, I knew I had a winner on my hands. These easy cheesy beef snacks are not just fantastic for breakfast; they’re a perfect little indulgence any time you crave comfort food. Imagine buttery biscuit dough enveloping a warm filling of seasoned beef and gooey cheese—heavenly, right? The best part is they are incredibly customizable, so you can mix in your favorite ingredients to make them your own. Whether you’re facing a busy weeknight or just want something that feels like a hug in food form, these homemade beef biscuit bombs won’t disappoint. Curious how to make them? Let’s dive in!
Why Make Cheesy Beef Biscuit Bombs?
Convenience: This recipe is super easy, making it perfect for weeknight meals or unexpected guests. Simply whip up the filling, wrap in biscuit dough, and bake!
Customization: Want to spice things up? Feel free to add your favorite veggies or seasonings. You can even switch up the cheeses!
Crowd-Pleaser: These cheesy beef biscuit bombs are a guaranteed hit at gatherings. Serve them at your next party, and watch them disappear!
Comforting Flavor: The rich, savory combination of beef, cheese, and flaky biscuit dough creates an irresistible comfort food experience, perfect for any time of day.
Freezer-Friendly: Prep a batch and freeze them for quick snacks or meals later! Bake from frozen with just a few extra minutes in the oven.
With so much to love, these cheesy beef biscuit bombs might just become your new favorite go-to recipe!
Cheesy Beef Biscuit Bombs Ingredients
For the Filling
• Ground Beef – Provides a rich, savory filling essential for heartiness; substitute with ground turkey or chicken for a lighter option.
• Shredded Cheddar Cheese – The main cheese, offering gooey texture and sharp flavor; other options include mozzarella or a cheese blend.
• Cream Cheese (softened) – Adds creaminess to the filling, helping to bind the other ingredients together; can be omitted for a lighter filling.
• Grated Parmesan Cheese – Enhances flavor with a salty kick; can be replaced with additional cheddar or omitted.
• Garlic Powder – Adds aromatic depth, enhancing overall flavor; fresh garlic may be used for a bolder taste.
• Onion Powder – Provides mild sweetness and savory notes; fresh diced onion can be used, but cooking time may need adjustment.
• Black Pepper – Balances richness with a slight kick; adjust according to spice preference.
For the Biscuit Bombs
• Refrigerated Biscuit Dough – Forms the outer shell, baking soft and flaky; homemade biscuit dough can be substituted if preferred.
• Melted Butter – Brushed on before baking for a golden finish and extra flavor.
These cheesy beef biscuit bombs are ready to bring warmth and joy to your kitchen!
Step‑by‑Step Instructions for Cheesy Beef Biscuit Bombs
Step 1: Preheat the Oven
Start by preheating your oven to 375°F (190°C). This temperature is perfect for achieving that golden-brown biscuit crust. While the oven is heating, gather all your ingredients and equipment, so you’re ready to move swiftly through the steps as you prepare your cheesy beef biscuit bombs.
Step 2: Cook the Ground Beef
In a skillet over medium heat, add the ground beef and cook it for about 6-8 minutes or until it turns a nice brown color. Use a spatula to break up the meat as it cooks for even browning. Once browned, drain any excess grease to keep the filling from being too greasy and return the skillet to the heat.
Step 3: Season the Beef
Stir in the garlic powder, onion powder, and black pepper to the cooked ground beef. Continue cooking for another 1-2 minutes, allowing the spices to fully integrate and bloom, enhancing the flavor of your filling. Remove the skillet from the heat and let the mixture cool slightly before mixing it with the cheeses.
Step 4: Combine the Cheeses
In a separate mixing bowl, combine the softened cream cheese, shredded cheddar, and grated Parmesan. Mix these ingredients together until creamy and well-combined. The cream cheese helps create a rich and gooey texture that pairs perfectly with the seasoned beef in your cheesy beef biscuit bombs.
Step 5: Add the Beef Mixture
Once the beef has cooled down a bit, fold it into the cheese mixture. Ensure the beef is evenly distributed throughout the cheese, creating a filling that’s packed with savory goodness. This combination will be delightfully creamy and flavorful, making each bite of your biscuit bombs absolutely irresistible.
Step 6: Prepare the Biscuit Dough
Open your refrigerated biscuit dough and separate it into individual biscuits. On a lightly floured surface, flatten each biscuit into a disc, about 4 inches in diameter. This will create the perfect little pockets to hold your flavorful beef and cheese filling in the cheesy beef biscuit bombs.
Step 7: Fill and Seal the Bombs
Place a generous spoonful of the beef and cheese mixture in the center of each biscuit disc. Carefully fold the edges of the biscuit over the filling and pinch to seal them tightly, forming a ball. This will ensure none of the delicious filling escapes during baking, keeping your cheesy beef biscuit bombs delightfully gooey.
Step 8: Prepare for Baking
Arrange the sealed biscuit bombs on a lined baking sheet. This will prevent sticking and make for easy cleanup later. To finish them off, brush each bomb lightly with melted butter, which will give them a beautiful golden finish and an extra layer of flavor once baked.
Step 9: Bake to Perfection
Place the baking sheet in the preheated oven and bake for 12-15 minutes, or until the biscuit bombs are puffed and golden brown. Keep an eye on them towards the end of the baking time to ensure they do not over-brown. The delightful aroma will fill your kitchen, promising a delicious treat awaits!
Step 10: Cool and Serve
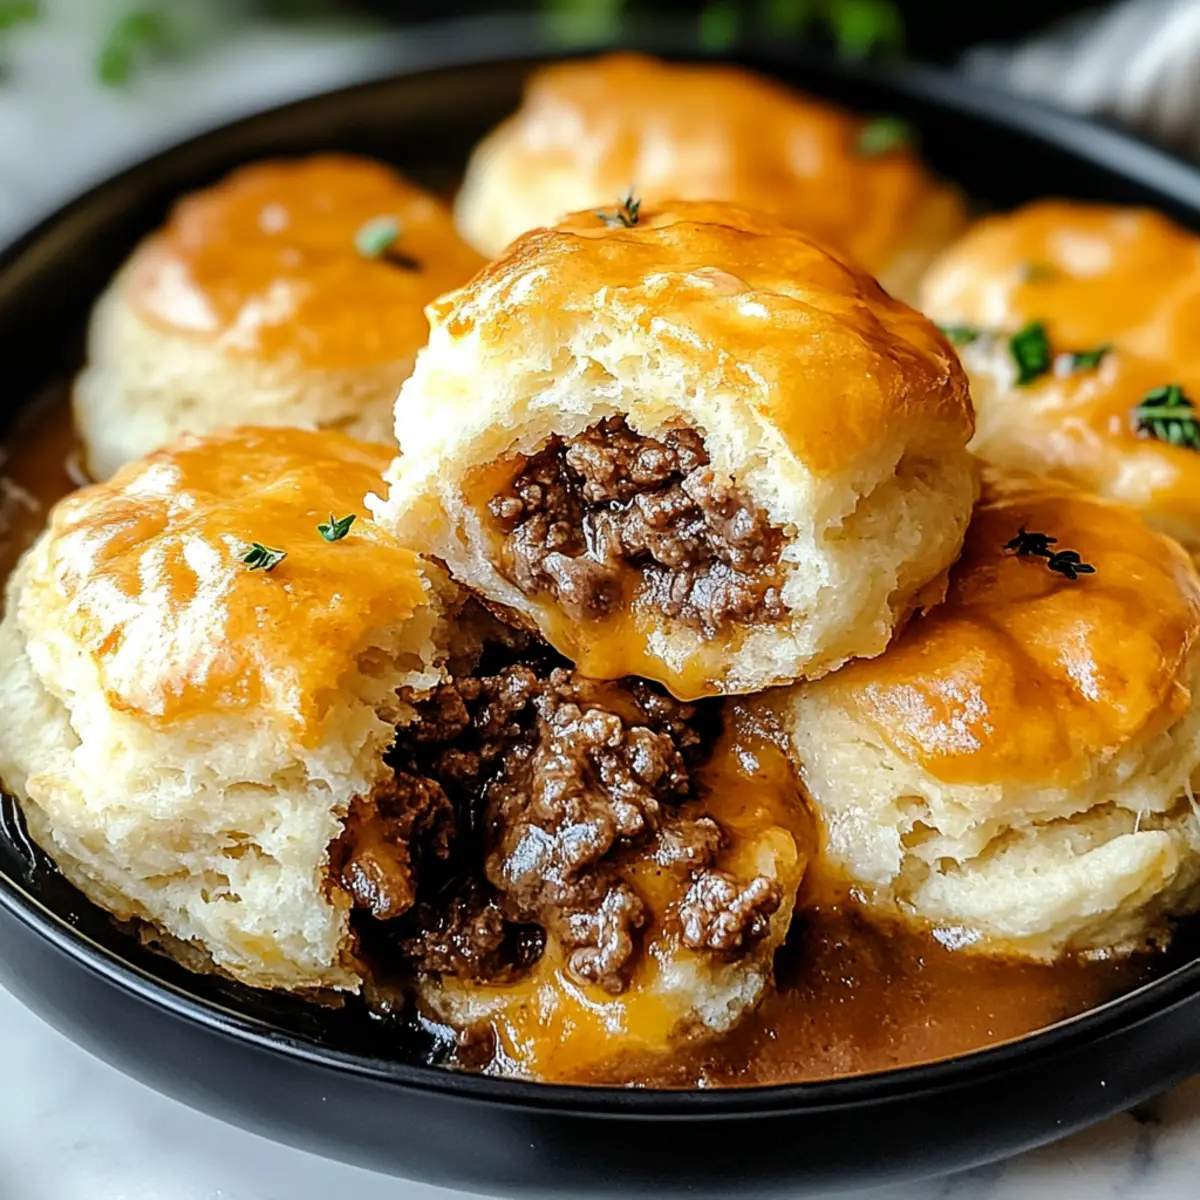
Once baked, remove the cheesy beef biscuit bombs from the oven and allow them to cool slightly on the baking sheet. This little cooling time lets the filling set a bit, making them easier to handle. Serve them warm, and enjoy the scrumptious contrast of the flaky exterior with the warm, cheesy filling inside!

Expert Tips for Cheesy Beef Biscuit Bombs
-
Perfectly Seasoned Beef: Ensure the ground beef is cooked thoroughly and well-seasoned before mixing with cheeses; under-seasoning can lead to bland bombs.
-
Easy Filling: If you find sealing the biscuit bombs tricky, use a scoop to help create evenly sized portions, preventing excess mess and leakage.
-
Freeze for Later: Freeze any uncooked cheesy beef biscuit bombs for future meals; bake from frozen while adding an extra 2-5 minutes to the cooking time.
-
Avoid Sogginess: To prevent soggy bottoms, ensure you drain excess grease from the beef and use parchment paper on the baking sheet for easy removal.
-
Diverse Cheeses: Don’t hesitate to experiment—using a mix of cheeses like Monterey Jack or Gouda can elevate the flavor profile of your cheesy beef biscuit bombs!
Cheesy Beef Biscuit Bombs: Endless Possibilities
Feel free to get creative with these cheesy beef biscuit bombs! Let your imagination take the lead as you customize and tweak the recipe to your liking.
-
Vegetable-Loaded: Add diced bell peppers, spinach, or even jalapeños to the filling for extra color and nutrition. It’s a delightful way to sneak in more veggies!
-
Swap the Beef: For a lighter option, substitute ground beef with ground turkey or chicken. It’s equally delicious and helps to keep things lean without compromising flavor.
-
Cheese Variety: Experiment with different cheeses like Monterey Jack, Gouda, or even a spicy pepper jack for a little kick. Each cheese adds a unique twist that’s worth exploring.
-
Biscuit Dough Alternatives: If time allows, try making homemade biscuit dough for a fresh, flaky outer layer. Your kitchen will smell heavenly, and the result will be worth it!
-
Garlic Boost: For the garlic lovers out there, swap garlic powder for freshly minced garlic to amp up the flavor. This gives your filling an aromatic depth that’ll bring smiles to everyone at the table.
-
Spice it Up: Add a pinch of cayenne pepper or red pepper flakes to the beef mixture for a delightful heat. It’s perfect for those who love a little extra spice in their bites.
-
Herbal Infusion: Fresh herbs like chopped parsley or cilantro can brighten the filling. Just stir them in before sealing, and voila—freshness in every bite!
-
Sweet and Savory: Want an unexpected twist? Mix in a bit of cooked bacon or caramelized onions with the beef filling for that sweet and savory combination everyone adores.
These variations not only add flair but can also transform your cheesy beef biscuit bombs into a completely new sensation each time you make them!
What to Serve with Cheesy Beef Biscuit Bombs
Indulging in golden, cheesy beef biscuit bombs is a treat that begs for delightful companions to round out your meal.
-
Creamy Mashed Potatoes: These fluffy, buttery potatoes create a comforting balance to the savory biscuit bombs, offering a smooth texture with every bite.
-
Spicy Jalapeno Poppers: Add a kick to your spread! These crunchy, cheesy poppers elevate flavors and provide a satisfying contrast to the rich biscuit bombs.
-
Classic Caesar Salad: Fresh romaine, crunchy croutons, and tangy dressing add brightness to the meal, enhancing the cheesy decadence of the bombs.
-
Zesty Guacamole: The creamy, avocado goodness offers a cool contrast to the warm, cheesy bites, making each bite a burst of flavor.
-
Roasted Veggies: A mix of seasonal vegetables brightens the table and complements the hearty filling of the biscuit bombs with a touch of freshness.
-
Marinara Dipping Sauce: Perfect for an extra layer of flavor, the tangy sauce pairs beautifully with the cheesy beef biscuit bombs and makes every bite more fun.
-
Apple Crisp: Finish with a sweet note! This warm dessert is the perfect way to contrast with the savory biscuit bombs, creating a delightful end to your meal.
Make Ahead Options
These cheesy beef biscuit bombs are a fabulous option for meal prep, allowing you to save precious time during busy weeknights! You can prepare the filling up to 24 hours in advance by cooking the beef and mixing it with cheeses, then refrigerate it. Additionally, you can assemble the biscuit bombs and place them on a lined baking sheet, covering them tightly with plastic wrap before refrigerating for up to 3 days. When you’re ready to enjoy your saved time, simply bake them from the fridge, adding a few extra minutes to the cooking time. This way, your homemade beef biscuit bombs will be just as delicious, leaving you with a comforting snack that’s ready with minimal effort!
Storage Tips for Cheesy Beef Biscuit Bombs
Fridge: Store your cheesy beef biscuit bombs in an airtight container for up to 3-4 days to maintain freshness and flavor.
Freezer: For long-term storage, freeze the baked or unbaked biscuit bombs for up to 3 months. If baking from frozen, add a few extra minutes to the cooking time.
Reheating: To reheat, pop them in a preheated oven at 350°F (175°C) for about 10-15 minutes or until warmed through, ensuring the exterior remains crispy.
Airtight Guidance: Always use an airtight container or wrap them tightly in foil or plastic wrap to prevent freezer burn and preserve the delicious filling inside your cheesy beef biscuit bombs.
Cheesy Beef Biscuit Bombs Recipe FAQs
How do I know if my beef is ripe or ready for this recipe?
Absolutely! For the best results, use fresh ground beef that is bright red and firm to the touch. Avoid any meat with dark spots or unpleasant odors, as these can indicate that it’s past its prime.
What’s the best way to store leftover cheesy beef biscuit bombs?
Very! Store your cheesy beef biscuit bombs in an airtight container in the fridge to keep them fresh for 3-4 days. To maintain their texture, it’s best to reheat them in the oven rather than the microwave.
Can I freeze the cheesy beef biscuit bombs?
Yes, you can! For maximum convenience, freeze the uncooked biscuit bombs right after assembling them. Just place them on a baking sheet to freeze individually, then transfer to a freezer-safe bag or container. They can be stored for up to 3 months. When you’re ready to bake, simply preheat the oven and bake from frozen, adding an extra 2-5 minutes to your cooking time.
What if my biscuit bombs are leaking filling while baking?
Don’t worry! If your cheesy beef biscuit bombs start leaking filling, it might be due to overfilling. For best results, keep the filling in the center and pinch the edges tightly to seal them. If you notice the dough tearing, try gently pressing the seams together or using a little melted butter as a glue to hold them closed.
Are cheesy beef biscuit bombs safe for kids and pets?
Absolutely! These cheesy beef biscuit bombs are kid-friendly; just ensure you monitor the beef seasoning levels for little ones. However, be cautious with spices and avoid any ingredients that could be harmful to pets, such as onions or high-fat cheeses.
What should I do if I want to customize my cheesy beef biscuit bombs?
The more the merrier! Feel free to get creative—add diced bell peppers, jalapeños, or even leftover veggies to the beef filling. You can also try incorporating different types of cheese, such as mozzarella or Gouda, to create a unique flavor profile catered to your taste.
Cheesy Beef Biscuit Bombs for the Ultimate Comfort Snack
Ingredients
Equipment
Method
- Preheat your oven to 375°F (190°C) and gather ingredients and equipment.
- Cook the ground beef in a skillet over medium heat for 6-8 minutes until browned. Drain excess grease.
- Stir in garlic powder, onion powder, and black pepper. Cook for another 1-2 minutes. Remove from heat.
- In a mixing bowl, combine softened cream cheese, shredded cheddar, and grated Parmesan. Mix until creamy.
- Fold the cooled beef mixture into the cheese mixture until evenly combined.
- Separate the refrigerated biscuit dough into individual biscuits and flatten each into a disc.
- Place a spoonful of beef and cheese mixture in the center of each biscuit disc. Fold and pinch to seal tightly.
- Arrange the sealed biscuit bombs on a lined baking sheet and brush with melted butter.
- Bake for 12-15 minutes until puffed and golden brown. Keep an eye on them to prevent over-browning.
- Remove from oven and allow to cool slightly before serving warm.
Leave a Reply