
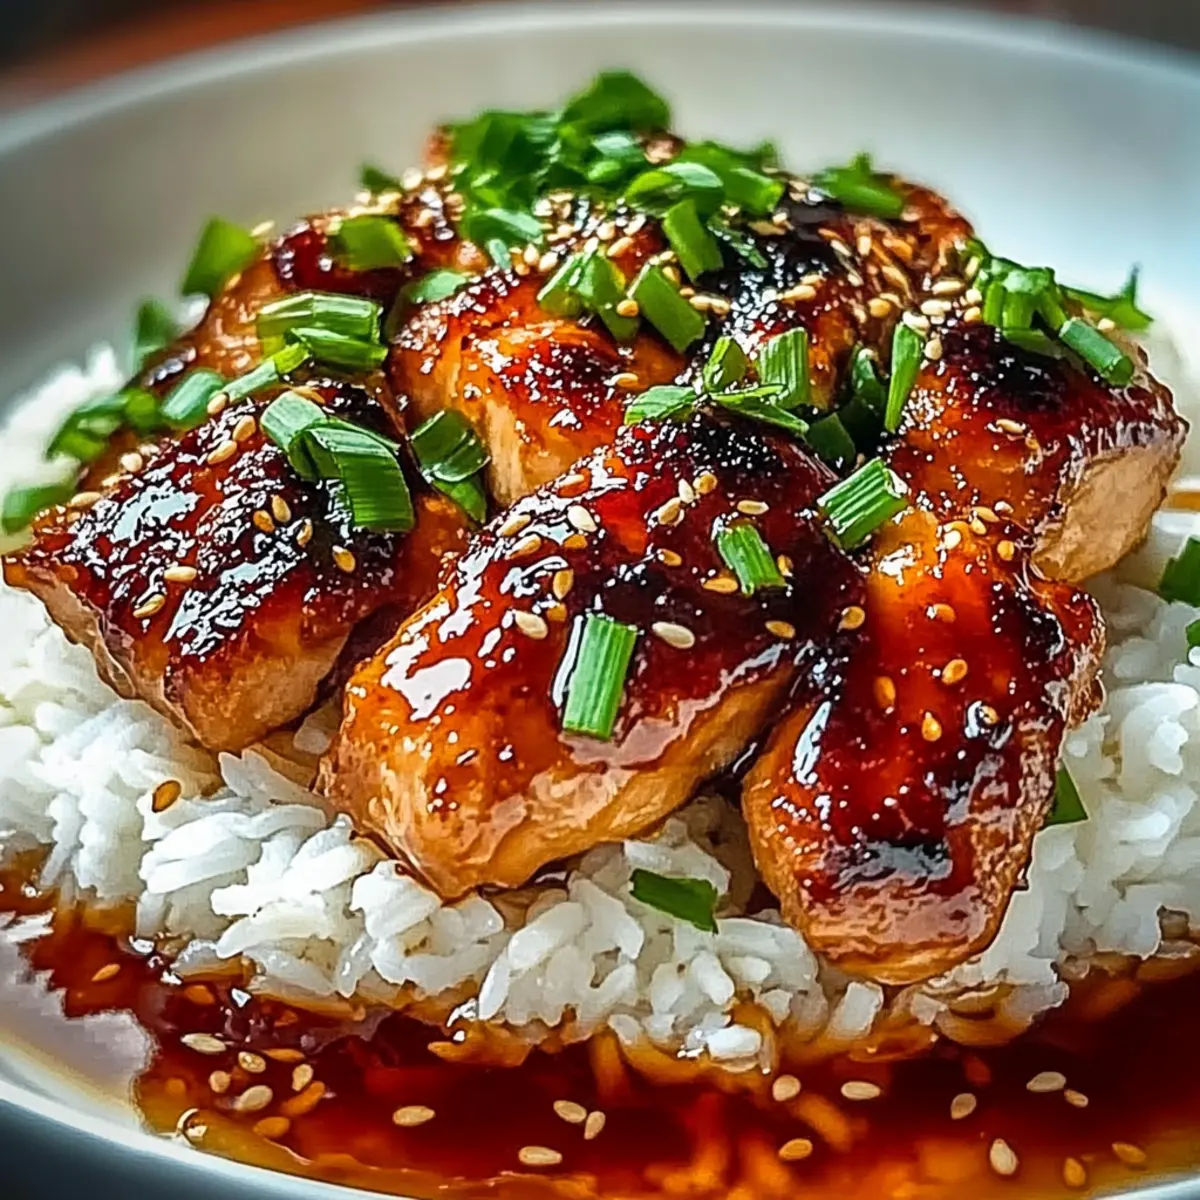
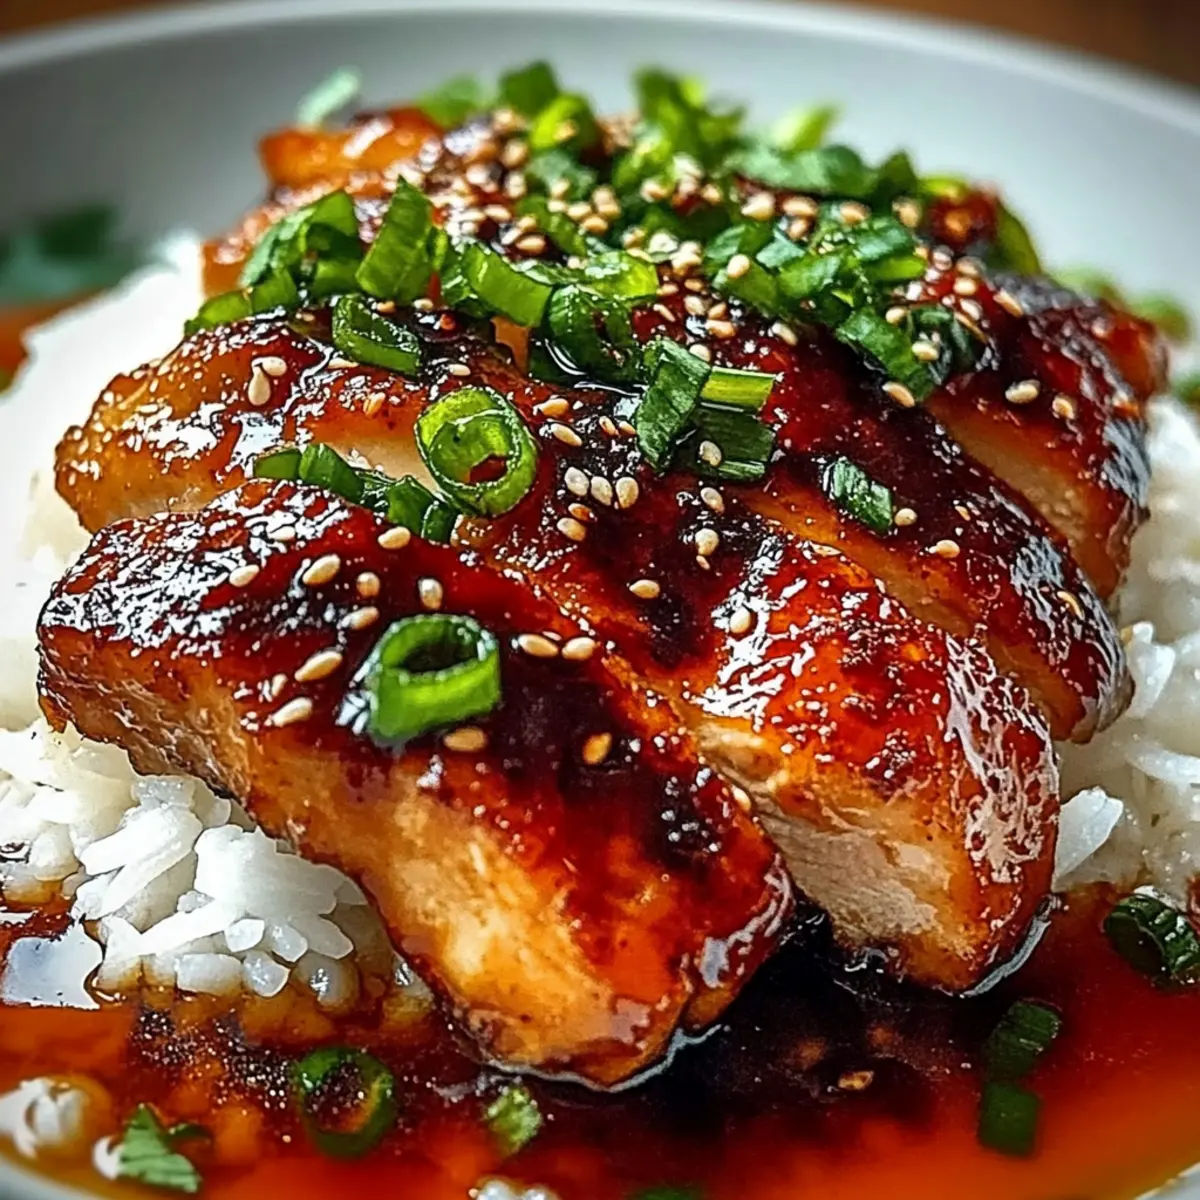
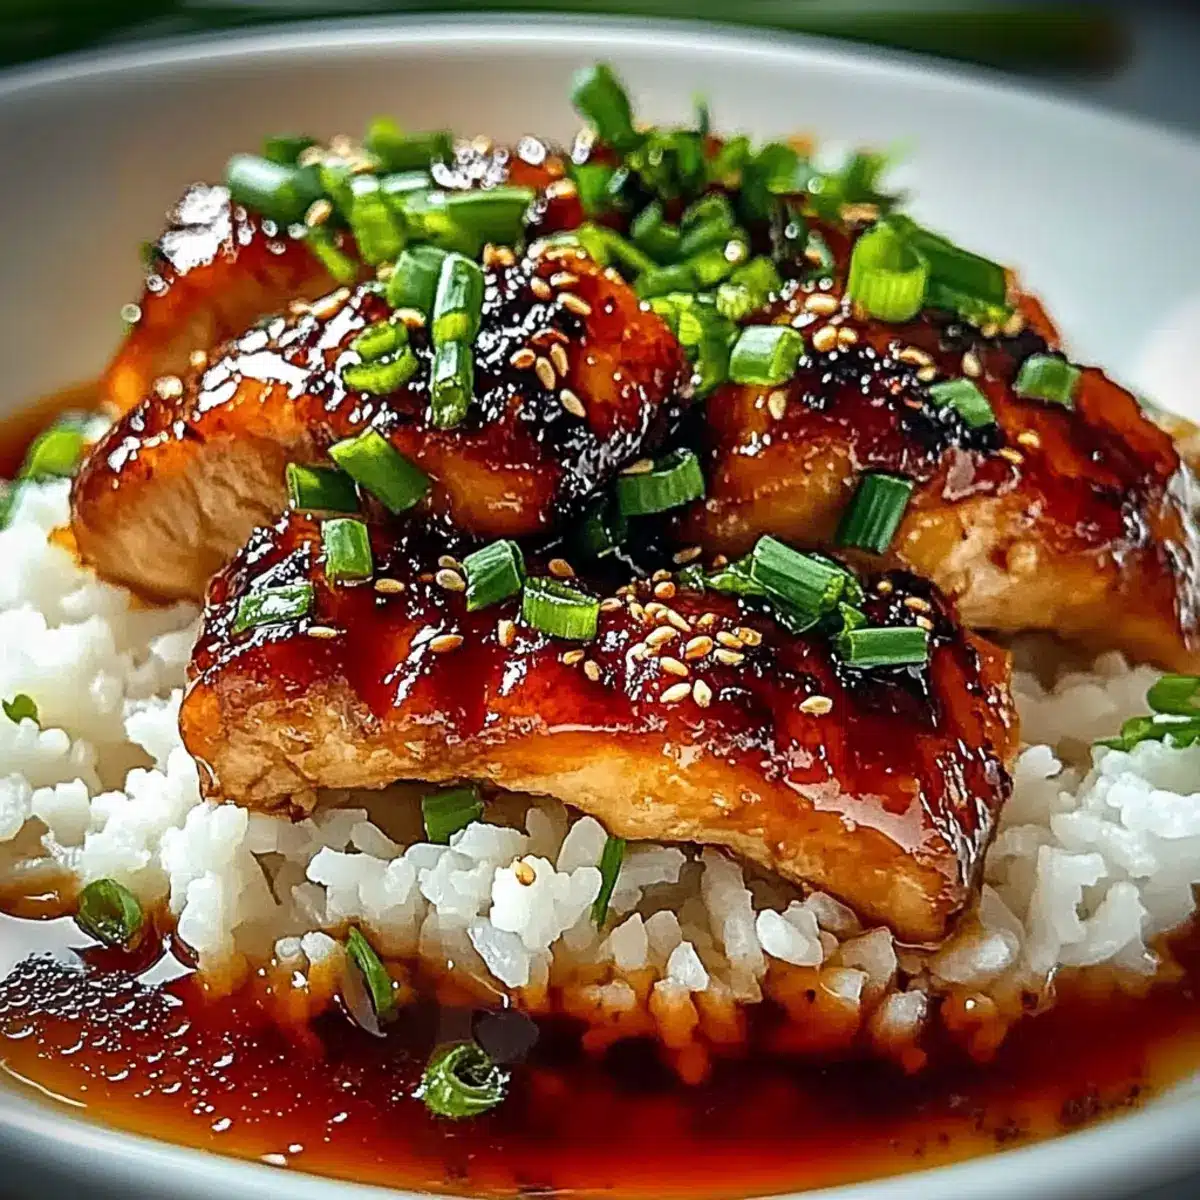
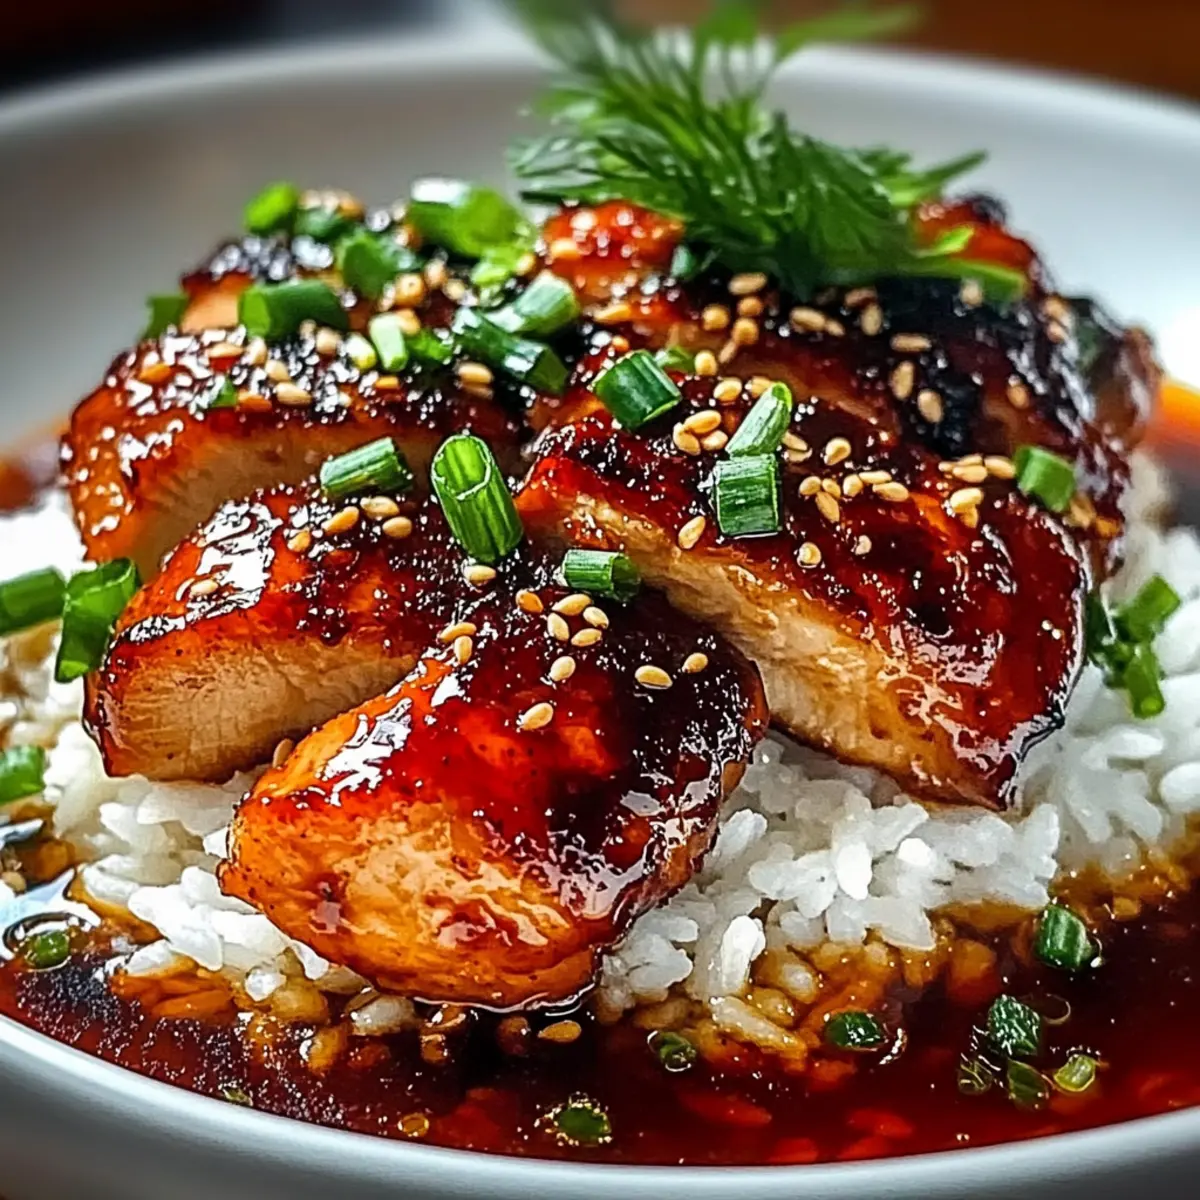
There’s something truly magical about the aroma of garlic and ginger mingling in the kitchen—an invitation to relax and indulge. As I prepared this Soy Chicken Garlic Ginger recipe, the sizzle of chicken in a silky, savory sauce instantly lifted my spirits. This dish is a delightful option for busy weeknights, as it’s not only quick to make but also incredibly versatile. You can easily swap chicken for tofu or tempeh for a satisfying vegan version, making it suitable for everyone at the table. Plus, it offers a fantastic canvas for personal twists, from adjusting the heat to adding your favorite veggies. Ready to dive into a flavor explosion that’s perfect for the whole family? Let’s get cooking!
Why is Soy Chicken Garlic Ginger Amazing?
Quick and Easy: This Soy Chicken Garlic Ginger recipe is perfect for busy weeknights, taking only 30 minutes to prepare from start to finish.
Flavorful Depth: The combination of garlic, ginger, and savory sauce creates layers of flavor that will tantalize your taste buds, much reminiscent of your favorite Asian takeout.
Customizable Options: It’s incredibly versatile, allowing you to switch up proteins and vegetables to suit your preferences or what you have on hand.
Family-Friendly: Kids and adults alike will adore this dish, making it an easy family favorite that everyone can enjoy together.
Meal Prep Wonder: You can marinate the chicken ahead of time, making it an excellent choice for easy weeknight meals with minimal fuss! Discover more quick ideas in our section on weeknight recipes.
Soy Chicken Garlic Ginger Ingredients
For the Marinade
• Boneless, skinless chicken thighs – The main protein that stays juicy and tender when cooked; swap with tofu or tempeh for a vegan option.
• Low-sodium soy sauce – Provides umami and salty notes while keeping sodium levels in check; dark soy sauce adds a richer flavor.
• Rice vinegar – Adds a touch of acidity to balance the sweetness and tenderize the chicken; apple cider vinegar is a good substitute.
• Fresh ginger (grated) – Infuses warmth and spice; fresh is best, but ground ginger can be used if you’re in a pinch.
• Garlic (minced) – Enhances depth with its pungent flavor; use fresh for the best impact, or try garlic powder if needed.
• Brown sugar – Offers a sweet caramel note; replace it with honey or maple syrup for a different flavor profile.
• Sesame oil – Adds a nutty richness to the marinade; omit if allergies are a concern.
• Red pepper flakes (optional) – Introduces heat that can be adjusted to your liking; fresh chili or sriracha can work too.
• Cornstarch – Helps thicken the sauce; if unavailable, flour can be used as an alternative.
For the Sauce
• Chicken broth – Essential for boosting flavor and moisture; use vegetable broth for a vegetarian substitute.
• Honey or maple syrup – Sweetens the dish; maple syrup makes it suitable for vegan diets.
• Vegetable oil – Necessary for cooking; choose a neutral oil like canola or grapeseed oil for best results.
For Garnish
• Green onion – Adds a fresh crunch and color to the dish; chop finely for the best presentation.
• Sesame seeds – Sprinkled on top, these add an appealing texture and nuttiness.
Get ready to enjoy this amazing Soy Chicken Garlic Ginger dish, bursting with flavor and the warmth of home-cooked goodness!
Step‑by‑Step Instructions for Soy Chicken Garlic Ginger
Step 1: Prepare the Marinade
In a medium bowl, whisk together low-sodium soy sauce, rice vinegar, grated ginger, minced garlic, brown sugar, sesame oil, red pepper flakes, and cornstarch. Make sure the cornstarch is thoroughly dissolved to ensure a smooth sauce later. This marinade will infuse your Soy Chicken Garlic Ginger with a delightful depth of flavor, so give it a good mix for about 1-2 minutes.
Step 2: Marinate the Chicken
Add boneless, skinless chicken thighs to the marinade, ensuring each piece is well-coated. Cover the bowl with plastic wrap or a lid and refrigerate for at least 30 minutes or up to 4 hours for the best flavor infusion. The longer it marinates, the more pronounced the savory, garlicky notes become in your Soy Chicken Garlic Ginger.
Step 3: Mix the Sauce
In another bowl, combine additional soy sauce, chicken broth, honey, rice vinegar, grated ginger, and minced garlic. Stir until well mixed. This sauce will complement the marinated chicken once cooked, so set it aside for later use, allowing the flavors to meld together as you prep the chicken.
Step 4: Prepare the Cornstarch Slurry
In a small bowl, mix equal parts cornstarch and water to create a cornstarch slurry. This will be essential for thickening the sauce later in the cooking process. Keep it handy and ready to use once your chicken is cooked and the sauce is simmering.
Step 5: Cook the Chicken
Heat vegetable oil in a large skillet over medium-high heat. Once hot, add the marinated chicken, cooking for 3-4 minutes on each side until browned and fully cooked, reaching an internal temperature of 165°F. The chicken should have a lovely golden-brown color, ensuring it’s both flavorful and juicy, which is perfect for your Soy Chicken Garlic Ginger.
Step 6: Create the Sauce Base
Remove the cooked chicken from the skillet and set it aside on a plate. In the same skillet, pour in your pre-mixed sauce, scraping up any browned bits from the bottom. Bring the mixture to a gentle simmer over medium heat for about 2-3 minutes. This step will help deglaze the pan, enhancing the depth of flavor in your dish.
Step 7: Thicken the Sauce
Gradually whisk in the cornstarch slurry you made earlier. Continue to stir until the sauce thickens to your desired consistency, usually around 1-2 minutes. You’ll know it’s ready when it has a glossy finish and coats the back of a spoon, showcasing the beautiful flavors in your Soy Chicken Garlic Ginger.
Step 8: Combine Chicken and Sauce
Return the cooked chicken to the skillet with the thickened sauce, ensuring each piece is generously coated. Cook for an additional 2-3 minutes on low heat to warm through and allow the chicken to absorb even more flavor from the sauce. This final touch ensures your dish is bursting with the essence of garlic and ginger.
Step 9: Garnish and Serve
Remove the skillet from the heat and drizzle a bit of sesame oil over the finished dish for added flavor. Transfer your Soy Chicken Garlic Ginger to a serving platter and garnish with finely chopped green onions and a sprinkle of sesame seeds. Serve this enticing dish over fluffy rice, and enjoy the delightful symphony of flavors!
Expert Tips for Soy Chicken Garlic Ginger
-
Marinate Wisely: For the best flavor, marinate your chicken for at least 30 minutes, but if time permits, letting it sit overnight will intensify the taste of your Soy Chicken Garlic Ginger.
-
Proper Searing: Avoid overcrowding the skillet when cooking the chicken; this ensures proper searing and keeps the chicken juicy and tender.
-
Taste as You Go: Always taste your sauce before serving. Adjust sweetness, saltiness, or heat levels to fit your family’s palate, ensuring a delicious outcome every time.
-
Thickening Technique: When adding the cornstarch slurry, do it gradually while stirring continuously. This will help achieve the perfect sauce consistency without lumps.
-
Garnish Generously: Don’t skip the garnishes! Green onions and sesame seeds add both crunch and color, enhancing the visual appeal of your Soy Chicken Garlic Ginger.
-
Explore Variations: Feel free to add your favorite vegetables or switch proteins to keep things fresh. This recipe’s versatility makes it a weekly staple!
Soy Chicken Garlic Ginger Variations
Feel free to get creative as you make this dish your own; it’s all about personal flavor and enjoyment!
-
Vegan Delight: Substitute chicken with tofu or tempeh for a satisfying plant-based version. This twist allows everyone, including vegans, to enjoy this comforting dish.
-
Heat Boost: Add extra red pepper flakes or a drizzle of chili oil for a fiery kick. This will elevate your Soy Chicken Garlic Ginger to a whole new level of excitement for spice lovers.
-
Veggie Power: Incorporate bell peppers, snap peas, or broccoli right into the skillet while cooking the chicken. It adds vibrant color and beneficial nutrients, making the dish even heartier.
-
Sweet & Tangy: Toss in pineapple chunks during the last few minutes of cooking for a delightful sweet and tangy contrast. The caramelized fruit pairs beautifully with the savory sauce and brightens the flavors.
-
Crispy Texture: Top your final dish with crushed peanuts or cashews for a delicious crunch. Every bite will surprise you with texture, turning this comforting dish into an exciting culinary experience.
-
Low-sodium Option: For a healthier twist, stick with low-sodium soy sauce and vegetable broth. It retains flavor while being kind to your heart and waistline.
-
Citrus Zing: A splash of fresh lime or lemon juice just before serving brings a bright acidity that balances the richness of the sauce beautifully. You might find a new favorite flavor combination!
-
Noodle Twist: Instead of serving over rice, try pouring this delicious sauce over cooked noodles or stir-fried rice for a complete meal in a bowl. It’s a wonderful way to mix things up!
Explore more ideas and find inspiration for other delicious dishes in our section on family-friendly meals.
Storage Tips for Soy Chicken Garlic Ginger
-
Fridge: Store leftovers in an airtight container for up to 3-4 days. This keeps the flavors intact while preventing spoilage.
-
Freezer: For longer storage, freeze the Soy Chicken Garlic Ginger in an airtight container for up to 3 months. Make sure to cool the dish completely before freezing.
-
Reheating: When ready to enjoy, reheat in a skillet over medium heat until warmed through, adding a splash of water if needed to loosen the sauce. You can also microwave it in short intervals, stirring occasionally.
-
Make-ahead Tip: Prepare the marinade and marinate the chicken ahead of time; it can be stored in the fridge for an easy weeknight meal option.
Make Ahead Options
These Soy Chicken Garlic Ginger delights are perfect for meal prep enthusiasts! You can marinate the chicken up to 24 hours in advance, which deepens the flavors and makes dinner a breeze. Simply whisk your marinade together and coat the chicken, then store it in the refrigerator. Additionally, you can prep the sauce and keep it in an airtight container for up to 3 days; just give it a good stir before using. When it’s time to cook, follow the remaining steps as outlined, and you’ll enjoy a delicious, hassle-free meal that’s just as inviting and flavorful as if made fresh!
What to Serve with Soy Chicken Garlic Ginger?
There’s nothing quite like enhancing your meal with perfectly paired sides that elevate this flavorful dish to a complete feast.
-
Fluffy Rice: White or brown rice is the classic choice, soaking up the savory sauce and providing a comforting base.
-
Steamed Broccoli: This vibrant green vegetable adds a fresh crunch and nutrition, balancing the rich flavors of the chicken wonderfully.
-
Cauliflower Rice: For a lighter option, cauliflower rice is a fantastic low-carb alternative that still achieves that beloved rice texture.
-
Stir-Fried Vegetables: A quick toss of colorful vegetables like bell peppers, snow peas, and carrots not only adds nutrition but also enhances your plate’s visual appeal.
-
Sesame Noodles: Serve alongside these soy-coated noodles to complement the dish with a delightful new flavor and satisfying chew.
-
Miso Soup: A warm bowl of miso soup can balance the meal with its umami notes, enriching the overall dining experience.
-
Fresh Cucumber Salad: The cool crunch of cucumbers dressed in rice vinegar provides cleansing brightness that pairs beautifully with the savory chicken.
-
Sparkling Water with Lime: Quench your thirst with a bubbly drink that rejuvenates your palate while keeping the focus on the vibrant flavors of the meal.
-
Fried Rice: Add a twist with leftover rice, fried up with eggs, peas, and soy sauce, it’s an indulgent side that offers delightful bites alongside the chicken.
Soy Chicken Garlic Ginger Recipe FAQs
What type of chicken is best for this recipe?
Boneless, skinless chicken thighs are ideal as they retain moisture and tenderness during cooking. If you’re looking for a vegan alternative, tofu or tempeh can be substituted, providing a hearty texture while soaking up the marinade.
How should I store leftovers?
Store your Soy Chicken Garlic Ginger in an airtight container in the refrigerator for up to 3-4 days. This will help maintain the flavors while preventing spoilage. When ready to enjoy, you can easily reheat it in a skillet or microwave.
Can I freeze Soy Chicken Garlic Ginger?
Absolutely! To freeze, allow the dish to cool completely before transferring it to an airtight container. It will keep well in the freezer for up to 3 months. For reheating, thaw in the refrigerator overnight and warm in a skillet over medium heat.
Why did my sauce come out too thin?
If your sauce is thinner than desired, it may need more cornstarch for thickening. To fix this, mix an additional tablespoon of cornstarch with a bit of water to create a slurry. Gradually add it to your sauce while stirring, letting it simmer until it thickens to your preferred consistency.
Is this recipe suitable for a low-sodium diet?
Very! By using low-sodium soy sauce and omitting any additional salt, you can create a deliciously balanced Soy Chicken Garlic Ginger that fits within a low-sodium diet. Always check your sauces, as they can vary greatly in sodium content.
What can I add to make the dish more nutritious?
Consider incorporating colorful vegetables like bell peppers, broccoli, or snap peas into the dish. This not only adds nutrition but also enhances the visual appeal. You can sauté them briefly before adding the chicken or mix them in during the cooking process.
Savory Soy Chicken Garlic Ginger for Busy Weeknight Delights
Ingredients
Equipment
Method
- Whisk together soy sauce, rice vinegar, ginger, garlic, brown sugar, sesame oil, red pepper flakes, and cornstarch in a medium bowl.
- Add chicken thighs, coat well, cover, and refrigerate for at least 30 minutes.
- Heat vegetable oil in a large skillet over medium-high heat. Add marinated chicken and cook for 3-4 minutes on each side until browned and cooked through.
- In another bowl, combine additional soy sauce, chicken broth, honey, rice vinegar, ginger, and garlic.
- Pour pre-mixed sauce into the skillet, simmer for 2-3 minutes.
- Mix cornstarch with water to create a slurry and gradually whisk into the sauce until thickened.
- Return chicken to skillet, toss in sauce, and heat for 2-3 minutes.
- Garnish with green onion and sesame seeds. Serve over rice.
Leave a Reply