
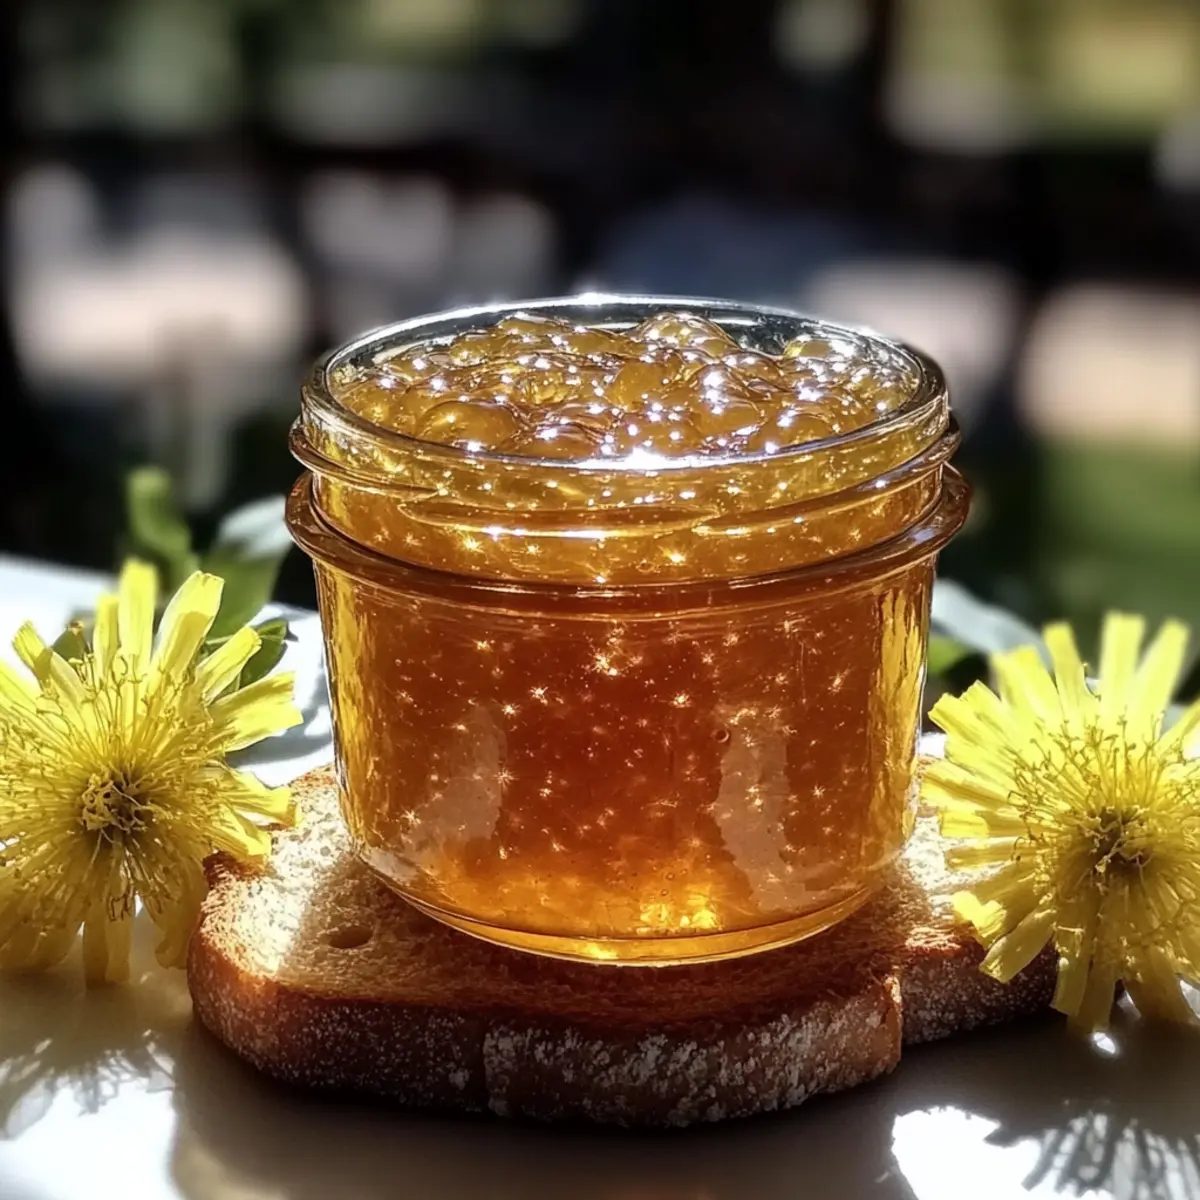
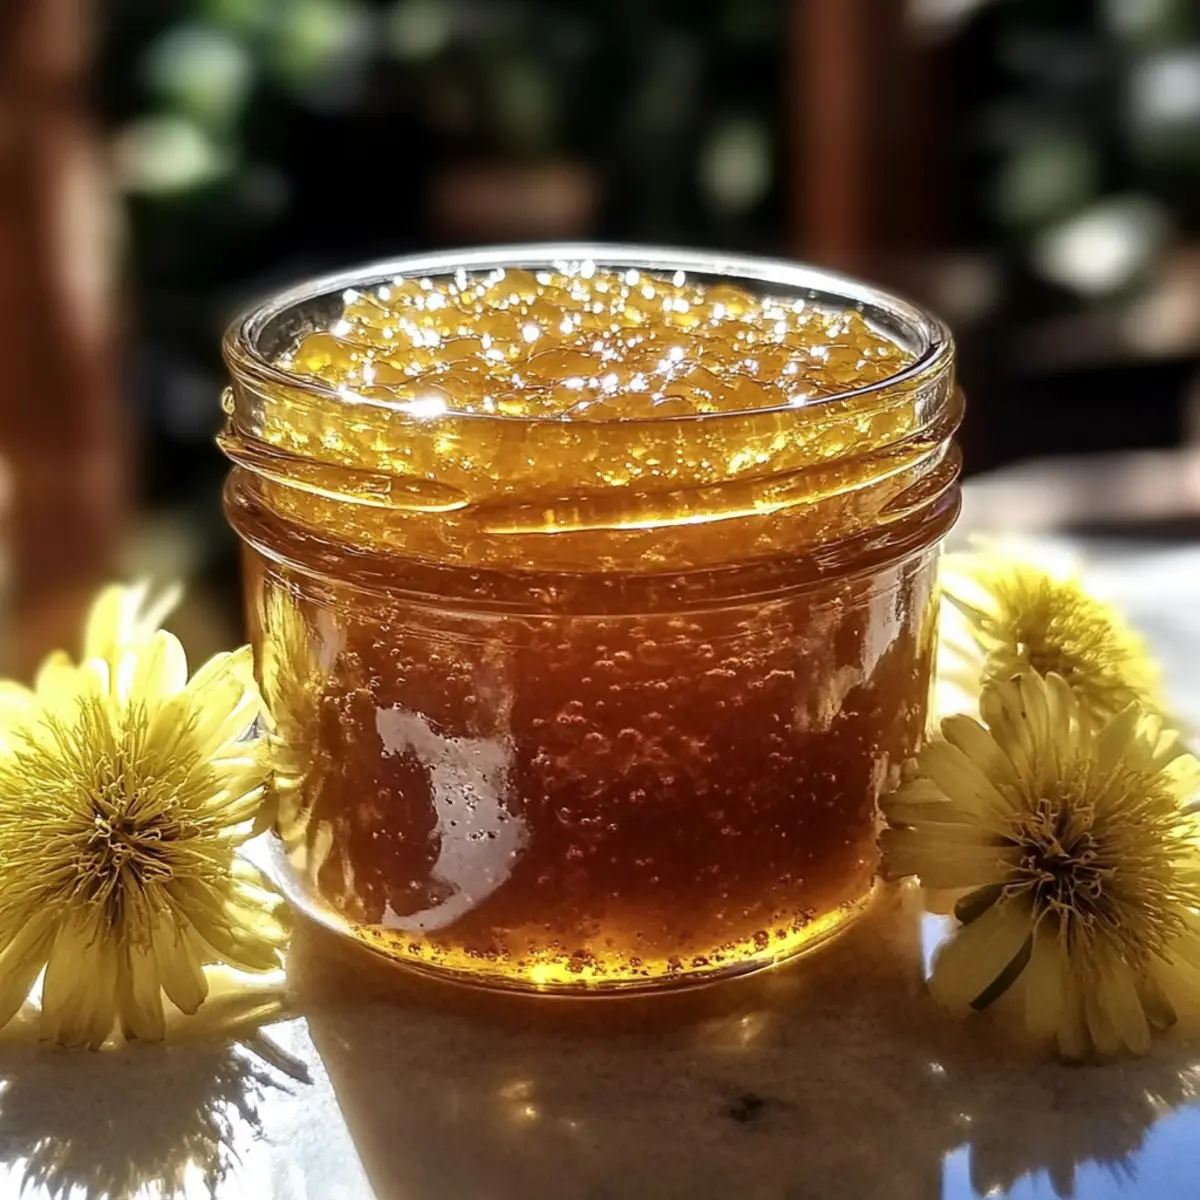
As I wandered through my garden last spring, the bright yellow dandelions danced in the breeze, begging me to create something special. With my Fresh Homemade Dandelion Jelly Recipe with Honey, I discovered the magic of transforming these cheerful blossoms into a delightful spread that captures the essence of the season. Not only is this jelly a stunning addition to your breakfast table, but it’s also incredibly simple to make, using just a handful of natural ingredients. Whether you’re looking to impress guests or enjoy a cozy snack, this vibrant jelly offers a uniquely floral flavor that’s both satisfying and versatile. Wouldn’t it be lovely to brighten your mornings with a touch of springtime sweetness? Let’s dive into the bliss of homemade jelly!

Why Make Dandelion Jelly at Home?
Unique floral flavor: This dandelion jelly captures the essence of spring with delightful floral notes, making your breakfast spreads extraordinary.
Simplicity: With just a few natural ingredients, anyone can whip up this jelly, bringing an artisanal touch to your kitchen.
Versatile uses: Perfect on toast, paired with cheese, or drizzled over desserts, this jelly elevates any meal.
Health benefits: Rich in antioxidants from dandelions and natural antibacterial properties from honey, this treat is guilt-free indulgence.
Perfect gift: It’s a charming homemade gift that will delight family and friends—everyone will appreciate your personal touch!
Fresh Homemade Dandelion Jelly Ingredients
• This is the essential list you’ll need for your delightful jelly.
For the Jelly
- Dandelion Blossoms – Main flavor source; use only the yellow petals to avoid any bitterness.
- Honey – Adds a wonderful sweetness; switch to maple syrup for a vegan version.
- Lemon Juice – Brightens the flavor profile, so use fresh juice for the best taste.
- Pectin – Key for ensuring your jelly sets perfectly; follow package instructions for best results.
- Water – Used for boiling; ensures the dandelion blossoms infuse beautifully.
This Fresh Homemade Dandelion Jelly Recipe with Honey will have your taste buds dancing with every spread!
Step‑by‑Step Instructions for Fresh Homemade Dandelion Jelly Recipe with Honey
Step 1: Gather and Prepare Dandelion Blossoms
Start by carefully picking the fresh yellow dandelion blooms, avoiding any green parts to prevent bitterness. Rinse the blossoms thoroughly under cool water to remove any debris and insects. Set them aside in a clean bowl while you prepare the other ingredients and gather your equipment, which includes a large pot, fine mesh strainer, and measuring cups.
Step 2: Infuse the Dandelions
In a large pot, bring 4 cups of water to a rolling boil over medium-high heat. Once boiling, turn off the heat and add the rinsed dandelion blossoms to the pot. Cover it and allow the flowers to steep off the heat for about 1 hour, ensuring that the vibrant flavors and colors are released into the water, resulting in a fragrant floral infusion.
Step 3: Strain the Infusion
After an hour has passed, carefully strain the dandelion infusion using a fine mesh strainer or cheesecloth placed over another pot. Gently press on the blossoms to extract all the liquid, discarding the solids afterward. You should have approximately 3 cups of infused water, which will be the base for your Fresh Homemade Dandelion Jelly Recipe with Honey.
Step 4: Combine Ingredients
Return the strained dandelion infusion to the pot and stir in 1 cup of honey and the juice of 1 lemon. Following the package instructions, sprinkle in the appropriate amount of pectin while whisking continuously to prevent clumping. Bring the mixture to a rolling boil over medium-high heat, stirring constantly to ensure everything is well combined and to avoid scorching.
Step 5: Check the Jelly’s Consistency
Once boiling, start testing the jelly’s consistency using the chilled plate test: place a spoonful of the mixture on a chilled plate and let it sit for a moment. Then, run your finger through it; if it mounds slightly and holds its shape, it’s ready for canning. If not, continue boiling and test again in a few minutes until the desired consistency is reached.
Step 6: Process and Store the Jelly
Once the jelly has reached the perfect consistency, carefully pour it into sterilized jars, leaving about ¼ inch of headspace at the top. Seal the jars with lids and place them in a boiling water bath for 5–10 minutes to ensure they are properly processed and can be stored long-term. Remove the jars and let them cool on a clean towel or rack, listening for the satisfying “pop” as they seal.
Step 7: Enjoy Your Homemade Jelly
After the jars have completely cooled, check that the lids have sealed properly by pressing down in the center of each lid—if it pops back, it hasn’t sealed. Store your Fresh Homemade Dandelion Jelly with Honey in a cool, dark pantry for up to a year, and relish the unique flavors in your breakfasts, snacks, or as a delightful gift to share!

What to Serve with Fresh Homemade Dandelion Jelly with Honey
Elevate your culinary experience by pairing your vibrant jelly with delightful dishes that enhance its floral notes.
-
Toasted Sourdough Bread: The crispy, tangy crust contrasts beautifully with the jelly’s sweet floral flavor, creating a delightful breakfast centerpiece.
-
Creamy Goat Cheese: This tangy cheese offers a rich, creamy texture that perfectly balances the sweetness of the jelly, making for a sophisticated cheese board addition.
-
Greek Yogurt: Swirled into yogurt, the jelly adds a refreshing burst of flavor that transforms a simple snack into an indulgent treat.
-
Hot Buttermilk Pancakes: Drizzled over fluffy pancakes, this jelly adds a unique twist to your brunch spread, complementing the rich, buttery flavors.
-
Vanilla Ice Cream: The combination of cold ice cream with floral sweetness creates a delightful contrast, turning a simple dessert into a springtime celebration.
-
Sparkling Lemonade: A crisp, citrusy beverage that pairs exquisitely with the jelly’s fruity notes, making every bite more refreshing and vibrant.
-
Salty Crackers: Crispy, salty crackers provide a crunchy base that highlights the sweetness of the jelly, perfect for entertaining guests or casual snacking.
-
Homemade Biscuits: Soft, flaky biscuits serve as a canvas for the jelly, enhancing breakfast or afternoon tea with delightful flavors and textures.
Expert Tips for Fresh Homemade Dandelion Jelly
- Select Quality Blooms: Choose vibrant yellow dandelion petals free from greens to prevent bitterness; freshness ensures the best flavor!
- Precise Pectin Use: Make sure to follow the package directions accurately, as improper pectin ratios can lead to a jelly that doesn’t set properly.
- Consistent Stirring: Stir the mixture constantly while boiling to avoid scorching on the bottom of the pot—this preserves the fresh homemade dandelion jelly’s bright flavor.
- Cooling Test: Always perform the chilled plate test to check if the jelly sets correctly before processing; this guarantees that you’ll achieve the perfect consistency.
- Proper Storage: Ensure to seal jars tightly and store in a cool, dark place; this keeps your jelly fresh for up to a year, preserving its delightful taste!
Fresh Homemade Dandelion Jelly Variations
Feel free to get creative and customize your dandelion jelly to suit your taste preferences and dietary needs!
-
Vegan Swap: Replace honey with equal parts maple syrup for a deliciously plant-based version that still shines bright.
-
Floral Fusion: Mix in other edible flowers like wild violets or clover for a vibrant multi-floral jelly that’s bursting with unique flavors.
-
Citrus Twist: Infuse with orange zest or juice in addition to lemon for an extra fruity zing that will elevate your jelly’s brightness.
-
Spiced Sensation: Add a pinch of ginger or cinnamon during the boil for a warm, spiced jam that brings a cozy touch to your morning toast.
-
Berry Bliss: Incorporate crushed strawberries or raspberries to the mixture while boiling, creating a delightful berry-infused dandelion jelly.
-
Reduced Sweetness: Decrease the honey or maple syrup to half for a more tart flavor that allows the dandelion’s natural essence to shine.
-
Heat It Up: Enhance warmth by adding a dash of red pepper flakes or finely chopped jalapeños for a spicy kick, perfect for an unexpected twist!
-
Gourmet Touch: Swirl in a touch of balsamic vinegar or flavored vinegar to create a complex layer of flavor that pairs beautifully with cheeses.
Explore these suggestions to find your favorite variation, and make sure to check out storage tips to keep your jelly fresh while trying each new flavor!
Storage Tips for Fresh Homemade Dandelion Jelly
Room Temperature: Unopened jars can be stored in a cool, dark pantry for up to a year, allowing the flavors to mature beautifully.
Fridge: Once opened, refrigerate your Fresh Homemade Dandelion Jelly and consume it within 3 weeks for optimal freshness and flavor.
Freezer: If you’d like to store jelly for an extended period, consider freezing it in airtight containers for up to 6 months; defrost in the fridge before use.
Reheating: If the jelly thickens in the fridge, gently warm it in a microwave-safe container for a few seconds or over low heat on the stove to restore its spreadable consistency.
Make Ahead Options
These Fresh Homemade Dandelion Jelly with Honey creations are perfect for meal prep enthusiasts! You can prepare the dandelion infusion up to 24 hours in advance by steeping the blossoms in water and then refrigerating the strained liquid. Additionally, you can measure and mix the honey and lemon juice in a separate container to streamline the final assembly. To maintain the delightful floral flavor and consistency, store both components in airtight containers until you’re ready to make the jelly. When it’s time to finish your jelly, simply combine the prepared ingredients, add pectin, bring to a boil, and follow the last steps to process and store. Enjoy the satisfaction of homemade jelly with minimal effort on busy days!
Fresh Homemade Dandelion Jelly with Honey Recipe FAQs
How do I select the right dandelion blossoms for the jelly?
Absolutely! It’s essential to choose vibrant yellow dandelion petals for making your jelly. Avoid using any green parts, as they can impart a bitter flavor to your final product. Pick the blossoms in the morning after the dew has dried for the best flavor.
How should I store my dandelion jelly once it’s made?
Once your jars are sealed, store them in a cool, dark pantry for up to a year. This allows the flavors to develop beautifully. After opening a jar, I recommend refrigerating it and consuming within 3 weeks to keep it fresh and flavorful.
Can I freeze dandelion jelly for longer storage?
Yes, you can! To freeze your dandelion jelly, pour it into airtight containers or freezer-safe bags, leaving about an inch of headspace to allow for expansion. It can be stored in the freezer for up to 6 months. When you’re ready to enjoy it, simply defrost it in the refrigerator overnight.
What can I do if my jelly doesn’t set properly?
If your jelly doesn’t set, don’t worry! You can reprocess it. First, measure the jelly and put it back into a pot. Add an equal amount of fresh lemon juice and pectin according to the package instructions. Bring it to a rolling boil for 1-2 minutes while stirring continuously. Then, do the chilled plate test again to check for consistency before pouring it back into sterilized jars.
Is dandelion jelly safe for pets, and are there allergy considerations?
Very good question! Dandelion jelly is generally safe for pets in small quantities, but it’s wise to consult with your veterinarian. Additionally, be aware of allergies; honey can be problematic for some, and if you or someone you’re serving has a pollen allergy, consider using maple syrup instead for a vegan version. Always check that all other ingredients are safe for your dietary needs!
Fresh Homemade Dandelion Jelly Recipe with Honey Bliss
Ingredients
Equipment
Method
- Gather and Prepare Dandelion Blossoms: Pick the fresh yellow dandelion blooms, avoiding green parts. Rinse thoroughly and set aside.
- Infuse the Dandelions: Boil 4 cups of water, then add the dandelion blossoms. Cover and steep for 1 hour.
- Strain the Infusion: After steeping, strain the infusion, pressing on the blossoms to extract liquid.
- Combine Ingredients: Add 1 cup of honey and lemon juice to the strained infusion. Stir in pectin, then boil.
- Check the Jelly's Consistency: Test using a chilled plate; if it mounds, it's ready.
- Process and Store the Jelly: Pour into sterilized jars, seal, and process in boiling water for 5–10 minutes.
- Enjoy Your Homemade Jelly: Check seals after cooling and store in a cool, dark place.
Leave a Reply