
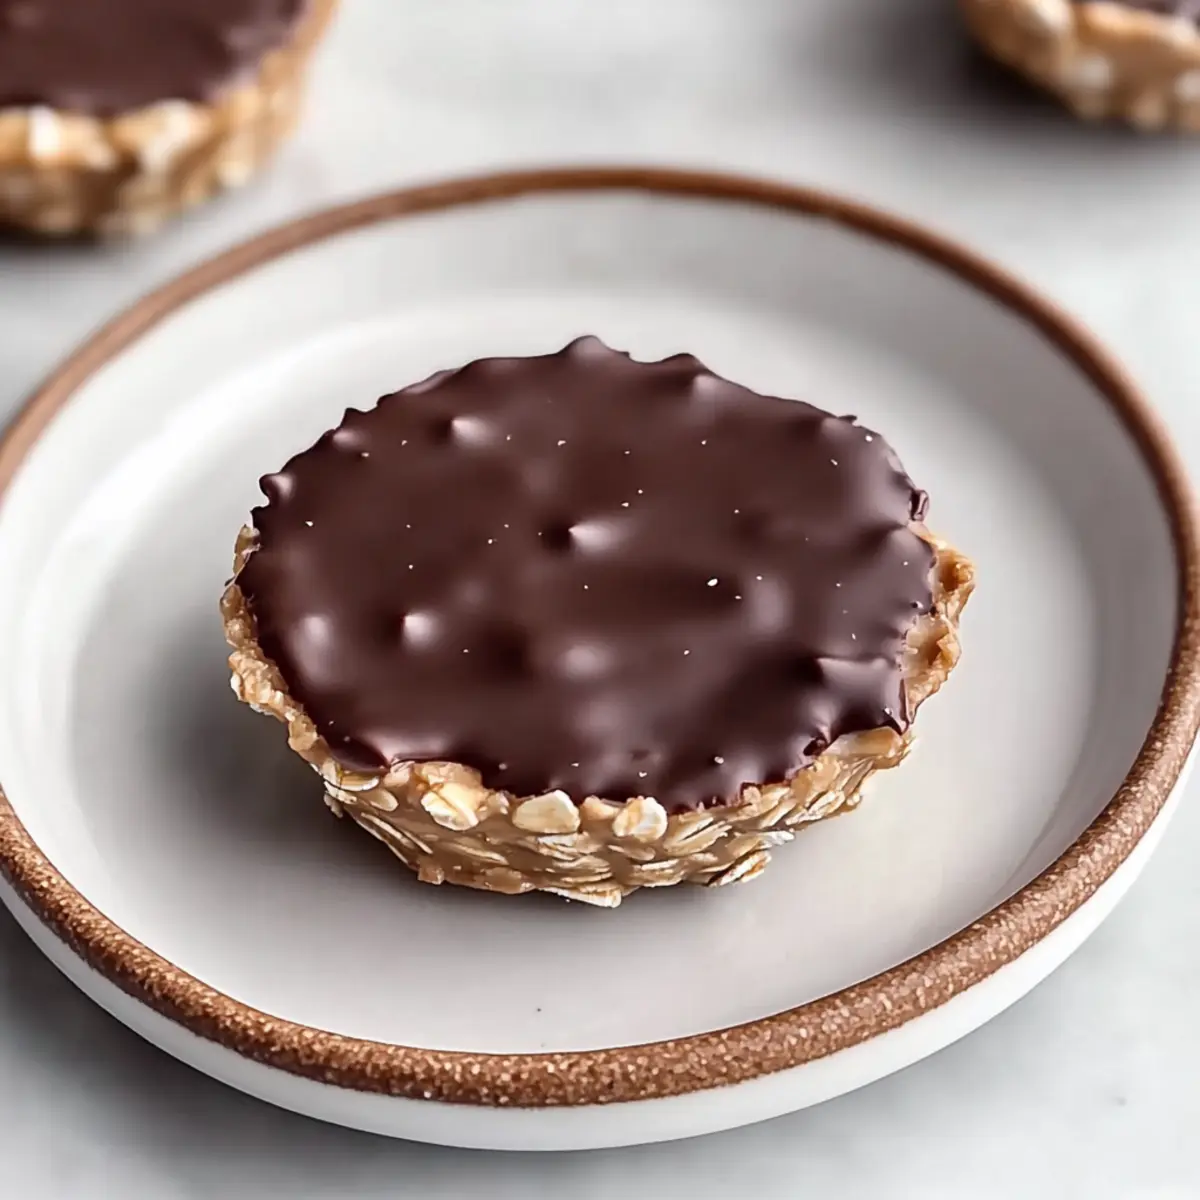
In the midst of a busy day, when cravings strike, I always find myself reaching for something that balances both indulgence and nourishment. That’s when these Easy No Bake Peanut Butter Oat Cups come to the rescue. Packed with wholesome oats and creamy peanut butter, they offer a delightful chewy texture topped with rich chocolate—perfect for satisfying that sweet tooth without any guilt. The best part? They come together in mere minutes, requiring no oven time at all! Whether you’re whipping them up for yourself or sharing with friends and family, they’re guaranteed to be a hit. Curious how to make these irresistibly simple treats that can effortlessly elevate your snacking game? Let’s get started!
Why are Peanut Butter Oat Cups a Must-Try?
Healthy Indulgence: These oat cups are a guilt-free pleasure, combining wholesome oats with creamy peanut butter for a satisfying treat that won’t derail your dietary goals.
Quick and Easy: In just minutes, you can create these delicious snacks without ever turning on the oven, making them perfect for busy days or spontaneous cravings.
Customizable Delights: Feel free to personalize your cups! Substitute almond butter for a nut-free version or add your favorite mix-ins like nuts or dried fruit for extra flair.
Crowd-Pleasing Treat: Whether you’re hosting a gathering or looking for a family-friendly snack, these cups are sure to please everyone. Pair them with a glass of milk or fresh fruit for a delightful experience!
For more delicious snack options, check out our easy-to-make energy bites or homemade granola bars!
Peanut Butter Oat Cups Ingredients
For the Oat Base
• Oats – Provides structure and chewiness; do not substitute with quick oats, as it leads to a mushy texture.
• Natural Peanut Butter – Offers creaminess and rich flavor; ensure it’s well-stirred for easy mixing; smooth peanut butter is recommended for texture.
• Honey – Acts as a sweetener and binder; start with the recommended amount to achieve proper consistency and adjust if necessary.
• Vanilla Extract – Enhances flavor; no substitutions necessary.
For the Topping
• Chocolate Chips – For topping, delivers sweetness; use quality chocolate, and coconut oil can be added for smoothness when melting.
• Coconut Oil – Used for melting chocolate, gives a nice sheen; can be omitted if using a higher fat chocolate.
Step‑by‑Step Instructions for Peanut Butter Oat Cups
Step 1: Combine Dry Ingredients
In a medium-sized mixing bowl, add 2 cups of rolled oats along with 1 cup of natural peanut butter, 1/3 cup of honey, and 1 teaspoon of vanilla extract. Stir the mixture thoroughly for about 2-3 minutes until everything is well incorporated and sticky, reflecting a cohesive blend that will form the base of your peanut butter oat cups.
Step 2: Prepare the Muffin Tin
Next, grab a muffin tin and generously spray it with nonstick cooking spray to prevent any sticking. This step is essential for easy removal later. Make sure to cover each cup evenly so that your peanut butter oat cups can slide right out without breaking when they’re set.
Step 3: Form the Oat Cups
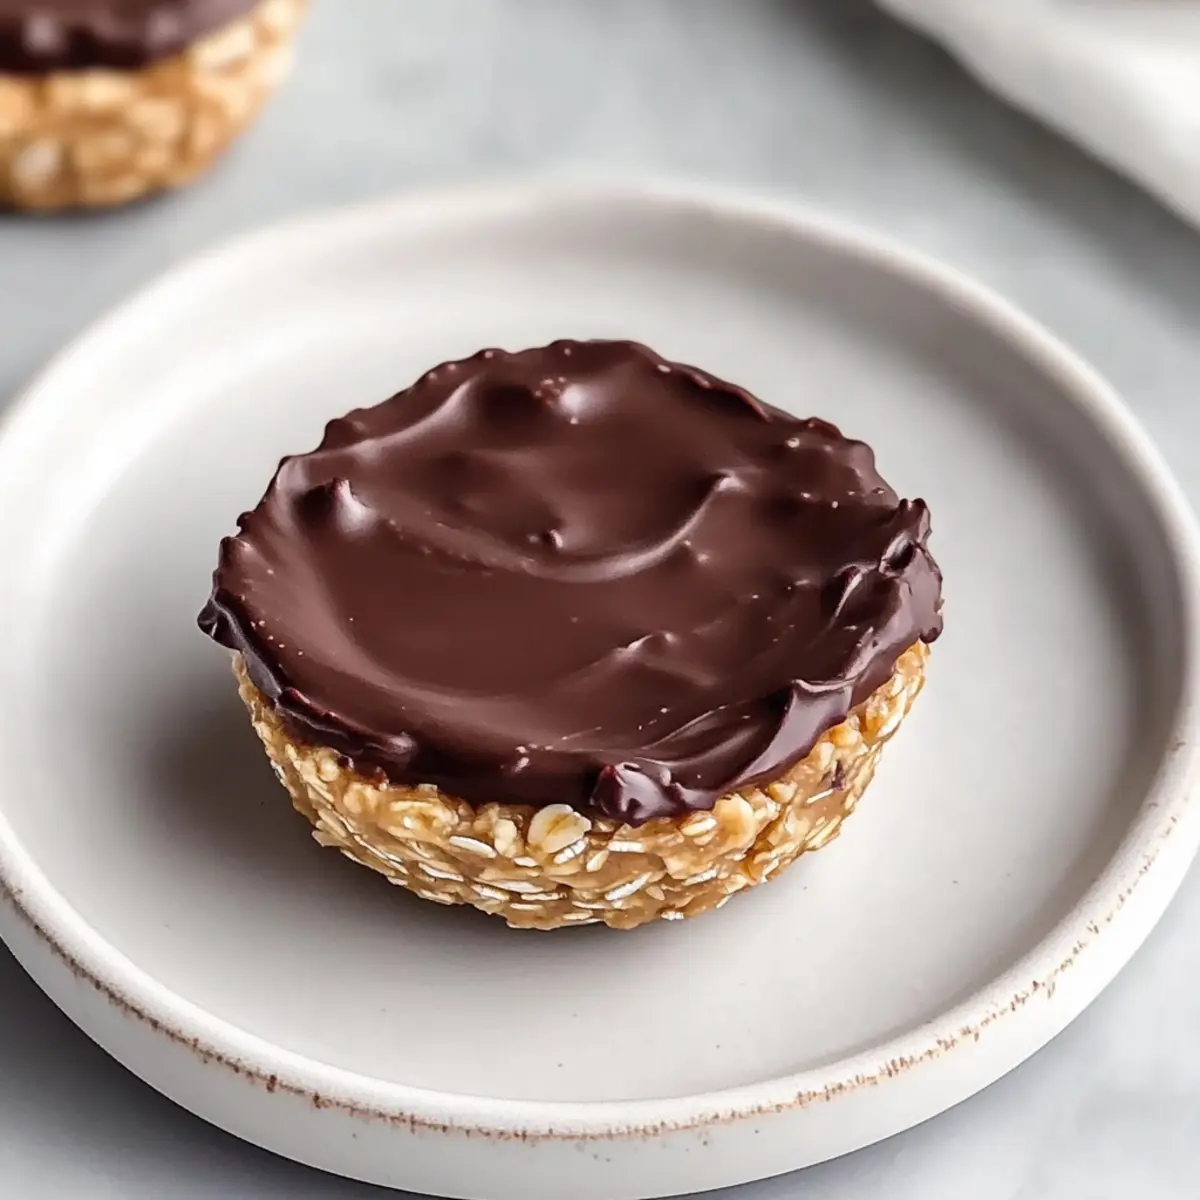
Divide the oat mixture evenly among the muffin cups, filling each one nearly to the top. With the back of a spoon, firmly press the mixture down to create a compact and well-formed base. Pressing down helps to ensure your peanut butter oat cups maintain their shape and chewy texture once set.
Step 4: Melt the Chocolate
In a small microwave-safe bowl, place 1 cup of chocolate chips and add 1 tablespoon of coconut oil. Microwave on medium power in 30-second bursts, stirring in between until smooth and melted, which should take about 1-2 minutes total. Be cautious not to overheat, as chocolate can easily seize; a luscious, glossy finish indicates it’s ready for the next step.
Step 5: Spoon on the Chocolate Topping
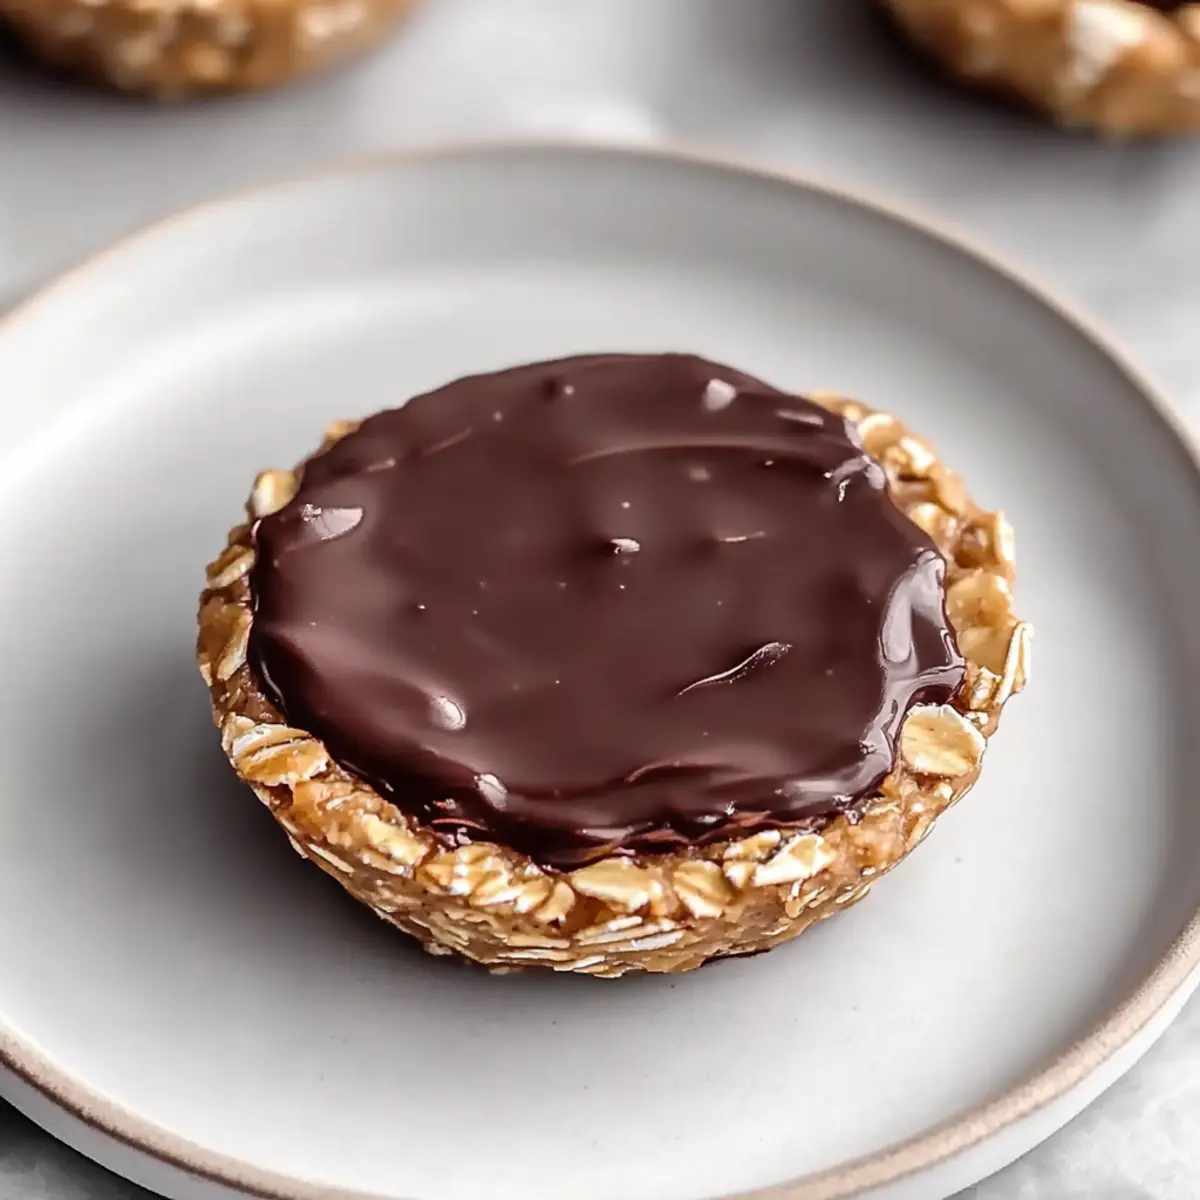
Once melted, spoon the chocolate mixture generously over each of your pressed oat cups, using a spatula or the back of the spoon to spread it evenly across the tops. This luscious layer not only adds sweetness but also enhances the visual appeal of your peanut butter oat cups.
Step 6: Optional Sea Salt Garnish
For an extra touch, if desired, sprinkle a tiny pinch of sea salt atop each chocolate layer before proceeding. This will add a delightful contrast to the sweetness and elevate the overall flavor of your peanut butter oat cups, creating a sophisticated balance.
Step 7: Set the Cupcakes
Carefully place the muffin tin in the freezer and let it chill for about 1 hour. This allows the chocolate to harden and the peanut butter oat cups to set fully, ensuring they maintain their shape when removed. You’ll know they’re ready when both the chocolate and the mixture are firm to the touch.
Step 8: Remove and Store
After an hour, take the muffin tin out of the freezer. Gently pop each peanut butter oat cup out, using a knife if necessary to loosen any edges. Store your delicious creations in an airtight container in the refrigerator for up to 2 weeks, or in the freezer for up to 3 months, separated by parchment paper to keep them from sticking together.
Peanut Butter Oat Cups Variations
Feel free to let your creativity shine by customizing these delightful oat cups to match your taste buds!
-
Nut-Free Delight: Substitute almond or sunflower seed butter for peanut butter to create a delicious nut-free option.
Enhancing flavors while keeping it safe for schools and allergies can make these cups loved by all. -
Choco-Mint Twist: Add a few drops of mint extract to the chocolate topping for a refreshing mint chocolate flavor.
This adds an unexpected zing that’s perfect for those who enjoy a hint of coolness with their chocolate. -
Protein Boost: Mix in a scoop of your favorite protein powder into the oat mixture for added nutrition.
This tweak transforms your snack into a post-workout treat, ensuring you’re refueling deliciously. -
Tropical Flavor: Toss in some unsweetened shredded coconut or diced dried pineapple for a tropical vibe.
The sunny flavors will transport you to a beachy paradise while you savor each chewy bite. -
Decadent Ganache: Swap chocolate chips for a ganache made with dark chocolate and cream for a richer topping.
This indulgent twist brings elegance to your oat cups, perfect for special occasions or satisfying sweet cravings. -
Add Sweet Crunch: Include a handful of chopped nuts or seeds into the oat base for an extra crunch.
This variation not only enhances the texture but also provides added healthy fats and proteins. -
Spice It Up: Sprinkle in some cinnamon or pumpkin spice to the oat mixture for a warming, flavorful kick.
This twist harks back to comforting holiday flavors, making these treats suitable for any season.
For even more delightful combinations, consider our tasty energy bites or nutritious granola bars, which you can modify just like these peanut butter oat cups!
Storage Tips for Peanut Butter Oat Cups
Fridge: Store your peanut butter oat cups in an airtight container in the refrigerator for up to 2 weeks to keep them fresh and chewy.
Freezer: For longer storage, these treats can be placed in the freezer for up to 3 months. Separate layers with parchment paper to avoid sticking together.
Serving: Enjoy directly from the freezer for a refreshing treat, or allow them to thaw slightly for a softer, chewier bite.
Reheating: If you prefer a warm snack, pop them in the microwave for just a few seconds until the chocolate begins to melt slightly.
What to Serve with Easy No Bake Peanut Butter Oat Cups
These delightful treats are not just perfect on their own—they can be paired with a variety of delicious options to create a memorable snack experience.
-
Fresh Fruit Salad: A medley of juicy fruits adds a refreshing balance to the rich oat cups. Strawberries and bananas are especially lovely partners, enhancing both flavor and nutrition.
-
Creamy Yogurt: Serve these oat cups alongside a scoop of Greek yogurt for a delightful contrast in texture. Drizzle with honey and toss in some nuts for added flavor.
-
Milk or Plant-Based Milk: Enjoy with a chilled glass of milk or oat milk for a classic pairing. The creaminess complements the chewy texture of the oat cups perfectly!
-
Nut Butter Dip: Create a delightful dip by mixing almond or cashew butter with a touch of honey. It’s a wholesome addition that echoes the peanut butter flavor and adds an extra layer of indulgence.
-
Granola: Crumble some granola over yogurt or enjoy as a crunchy topping on fresh fruit. This introduces a delightful crunch that complements the soft textures of the oat cups.
-
Coffee or Tea: Brew a cup of your favorite coffee or a calming herbal tea. The warm beverage pairs beautifully with the sweet flavors of the oat cups for a cozy afternoon snack.
Each pairing brings its own unique twist, letting you customize your snack experience while enjoying the wholesome goodness of peanut butter oat cups!
Expert Tips for Peanut Butter Oat Cups
-
Room Temperature Peanut Butter: Make sure your peanut butter is at room temperature for easier mixing; cold peanut butter can be hard to blend into the oats.
-
Use Rolled Oats: Stick with traditional rolled oats for the best chewy texture; quick oats lead to a mushy result that won’t hold up as well in the cups.
-
Chocolate Melting Care: Be cautious while melting chocolate; overheating can cause it to seize. Always melt in short increments, stirring in between for a smooth consistency.
-
Chill Time Matters: Allow the cups to set completely in the fridge for at least 2 hours for optimal firmness. Rushing this step may lead to soft oat cups.
-
Personalize Your Mix-ins: Feel free to experiment by adding chopped nuts or dried fruits to customize your peanut butter oat cups to your taste!
Make Ahead Options
These Easy No Bake Peanut Butter Oat Cups are perfect for meal prep enthusiasts! You can prepare the oat base up to 24 hours in advance by mixing the oats, peanut butter, honey, and vanilla, then store it in an airtight container in the refrigerator. Once ready to serve, simply fill the muffin tins, top with melted chocolate, and freeze as directed. The cups can also be stored for up to 2 weeks in the fridge or up to 3 months in the freezer, separated by parchment paper to prevent sticking. Just pull them out directly from the freezer for a delightful snack that’s just as delicious as when freshly made!
Peanut Butter Oat Cups Recipe FAQs
How do I know if my oats are the right type for this recipe?
Absolutely! For the best texture, you should always use traditional rolled oats in your Peanut Butter Oat Cups. Quick oats can lead to a mushy result and won’t hold up well as a base. Look for oats that are plump and whole, with some chewiness when you bite into them.
What’s the best way to store these oat cups, and how long do they last?
You can store your Peanut Butter Oat Cups in an airtight container in the fridge for up to 2 weeks. For longer storage, I often recommend freezing them. Place the cups in a single layer in a freezer-safe container, separating layers with parchment paper to prevent sticking. They will stay fresh for up to 3 months!
Can I freeze my Peanut Butter Oat Cups? If so, how?
Yes, you can absolutely freeze these! After placing them in an airtight container with parchment paper between layers, ensure your container is sealed tightly to avoid freezer burn. You can enjoy them straight from the freezer for a refreshing treat or let them thaw at room temperature for a softer bite. To thaw quickly, pop them in the microwave for just a few seconds!
What should I do if my chocolate seized while melting?
If your chocolate has seized, don’t worry! You can try rescuing it by adding a small splash of coconut oil or butter to the bowl and stir gently until it loosens up. If it doesn’t smoothly incorporate, it might be best to start fresh with new chocolate chips, melting them in shorter bursts and stirring frequently for a smoother finish.
Are there any allergens I should consider with this recipe?
Yes, if you’re preparing these Peanut Butter Oat Cups for someone with allergies, you’ll want to be mindful of a few ingredients. For instance, peanut butter is a common allergen; consider substituting it with sunflower seed butter for a nut-free option. Always double-check ingredient labels to ensure everything is safe for those eating your delicious treats.

Peanut Butter Oat Cups That Everyone Will Love
Ingredients
Equipment
Method
- In a medium-sized mixing bowl, add rolled oats, natural peanut butter, honey, and vanilla extract. Stir thoroughly for about 2-3 minutes until well incorporated.
- Grease muffin tin with nonstick cooking spray for easy removal.
- Divide the oat mixture evenly among the muffin cups, filling each nearly to the top and pressing down firmly.
- In a small bowl, combine chocolate chips and coconut oil. Microwave in 30-second bursts until melted and smooth.
- Spoon the chocolate mixture over each oat cup and spread evenly.
- Sprinkle sea salt on top of the chocolate if desired.
- Place the muffin tin in the freezer for about 1 hour to allow the chocolate to harden.
- After an hour, pop each peanut butter oat cup out of the tin and store in an airtight container.
Leave a Reply